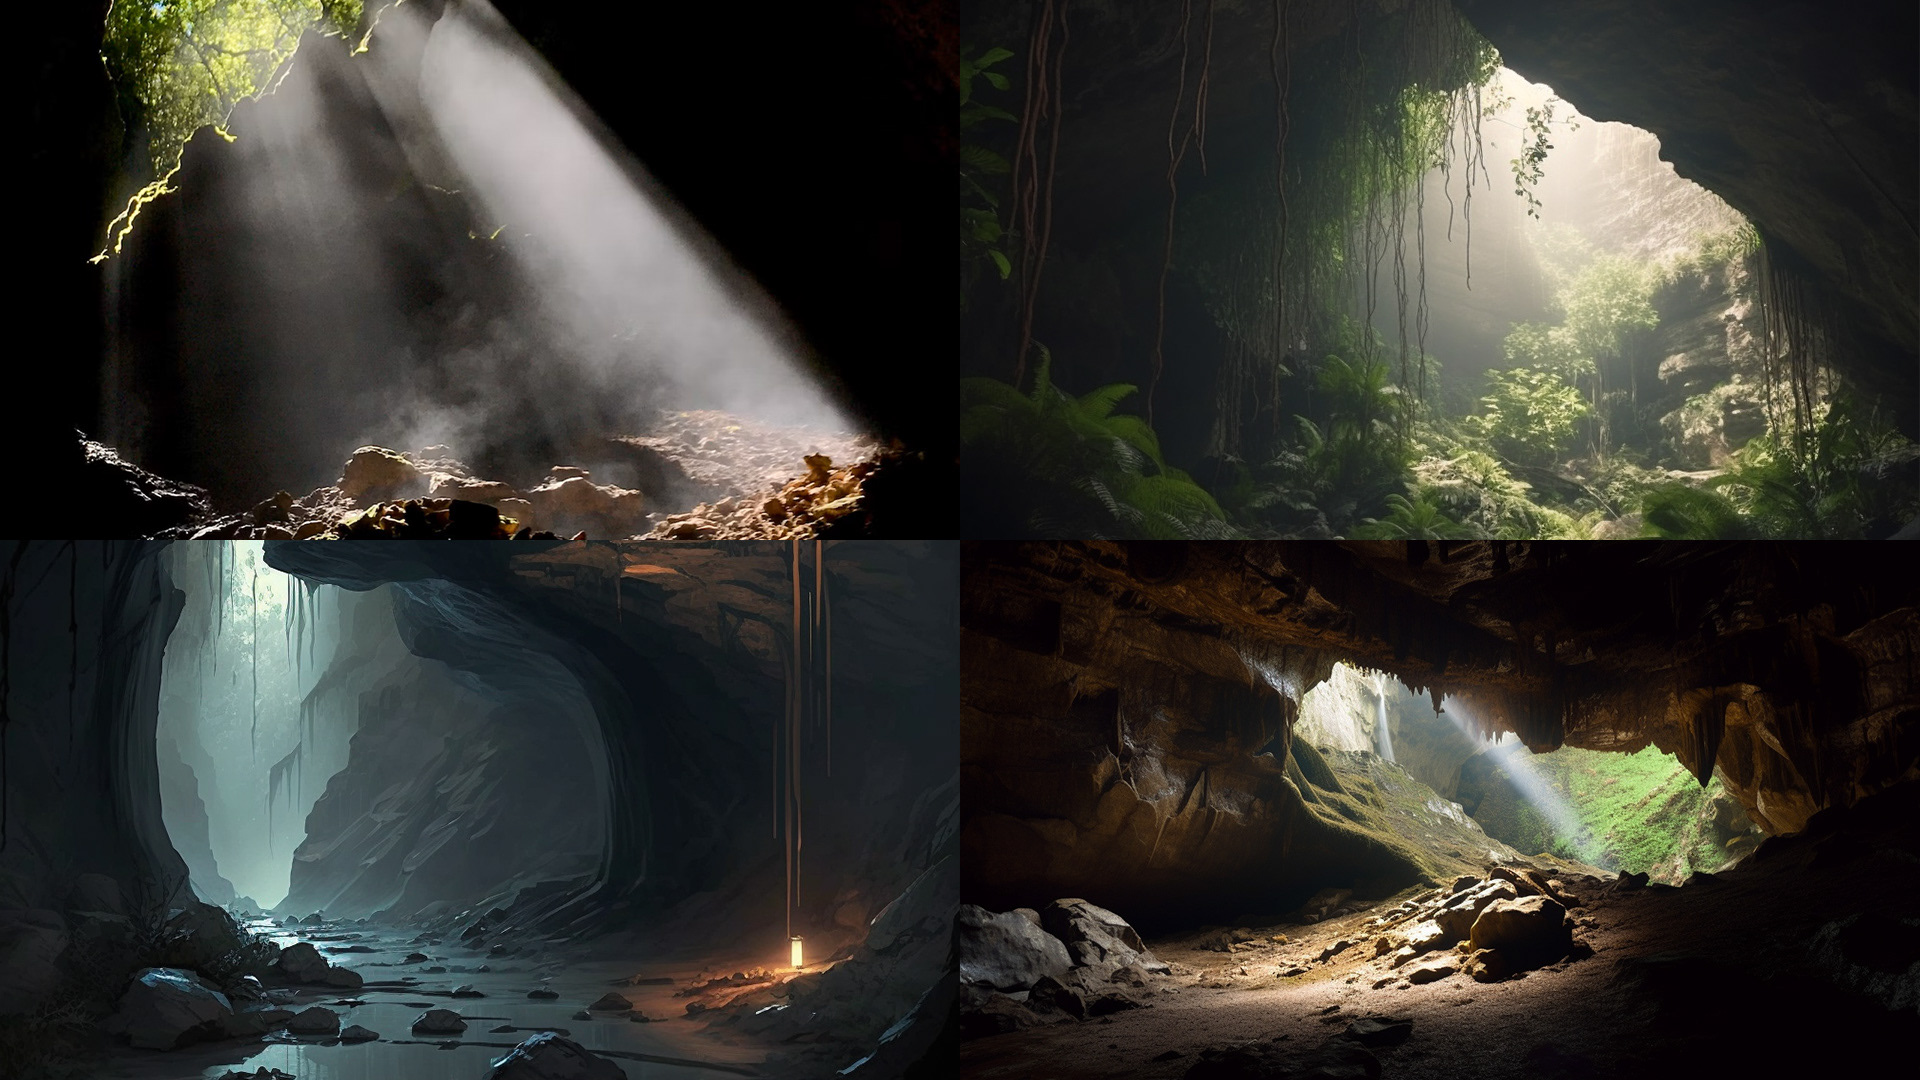
References for the cave environment that was to be built.
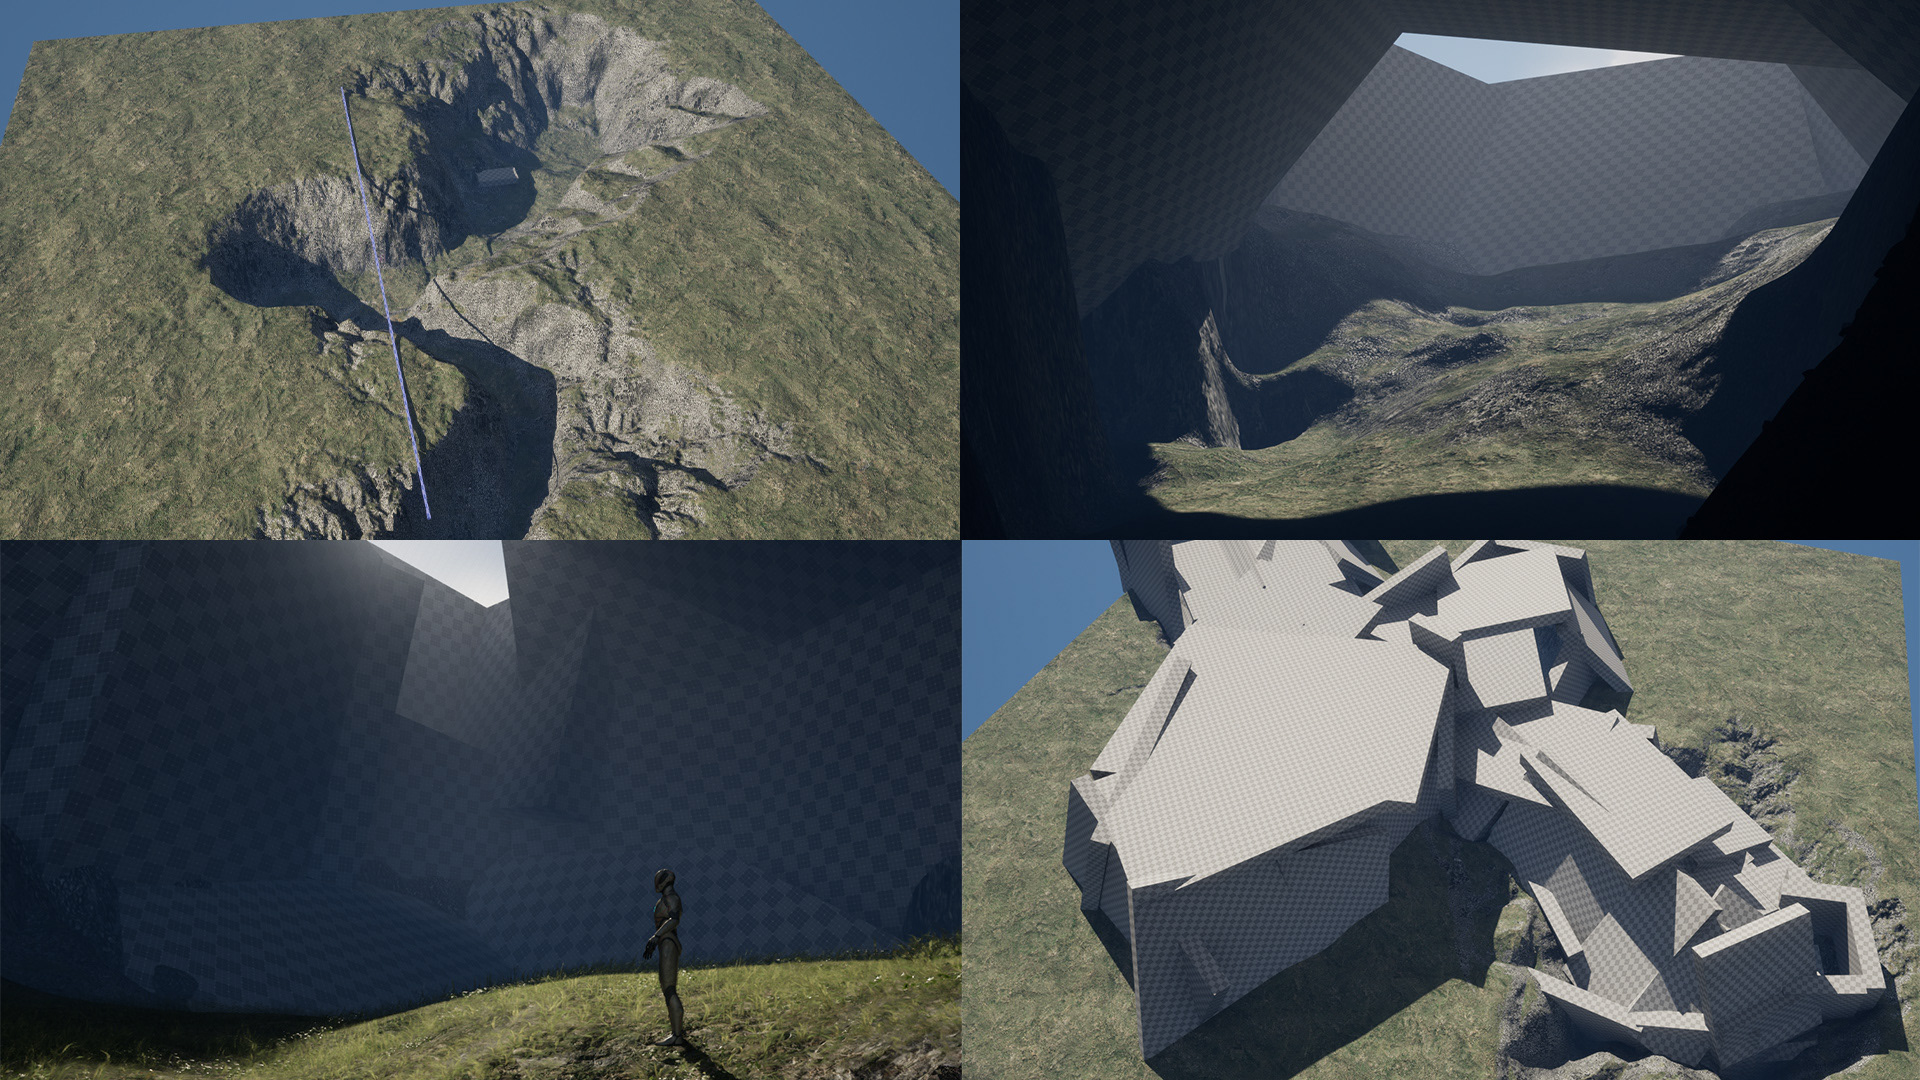
Blocking out the cave level with landscape and whiteboxing.
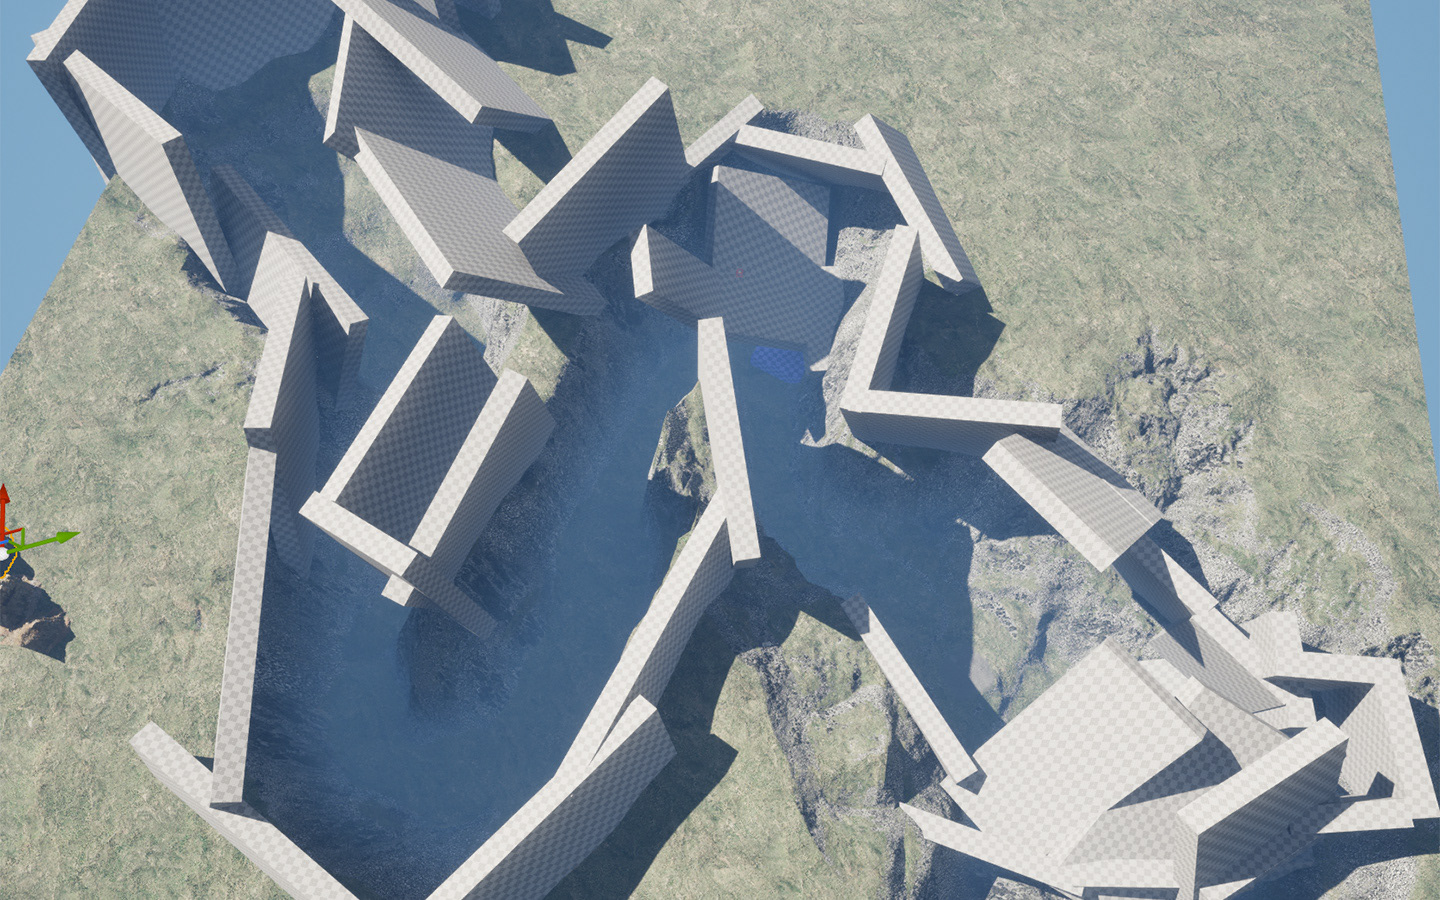
Scale, distance and depth was the biggest consideration while working on the whiteboxing.
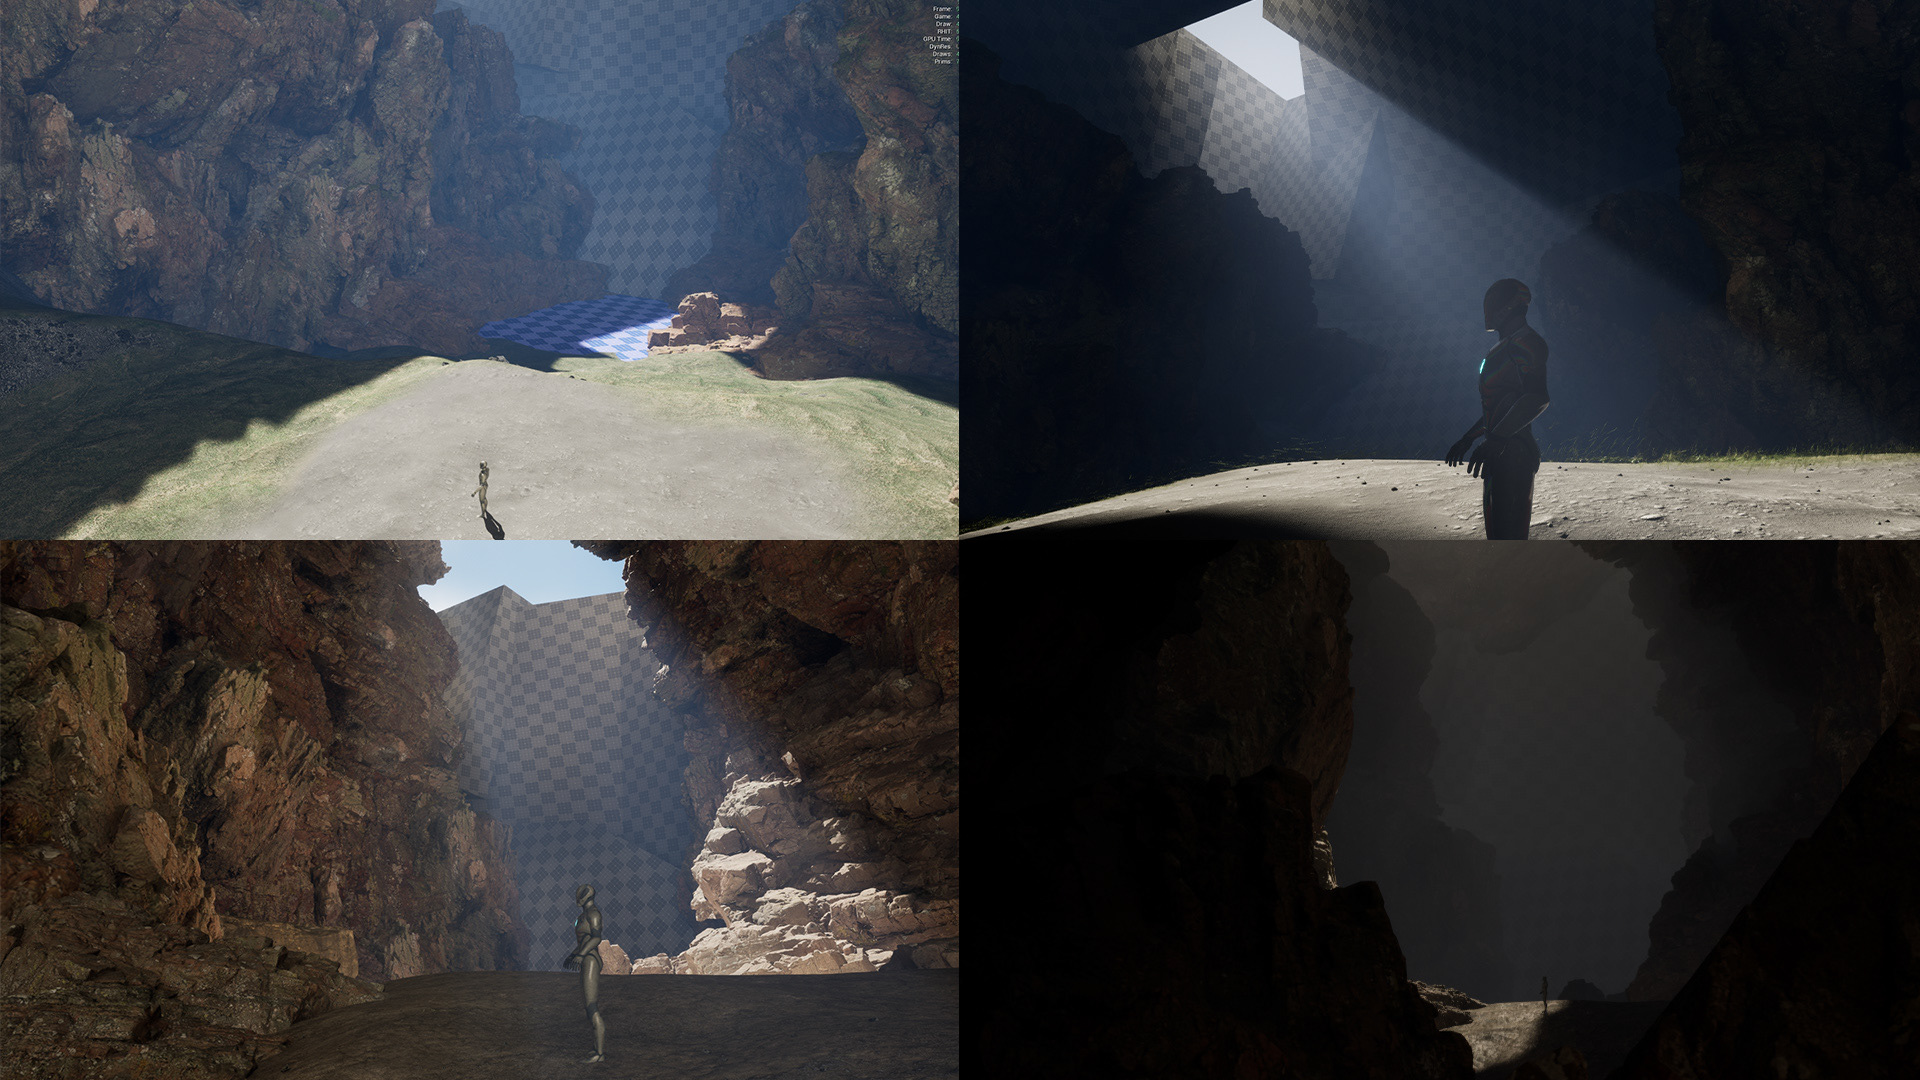
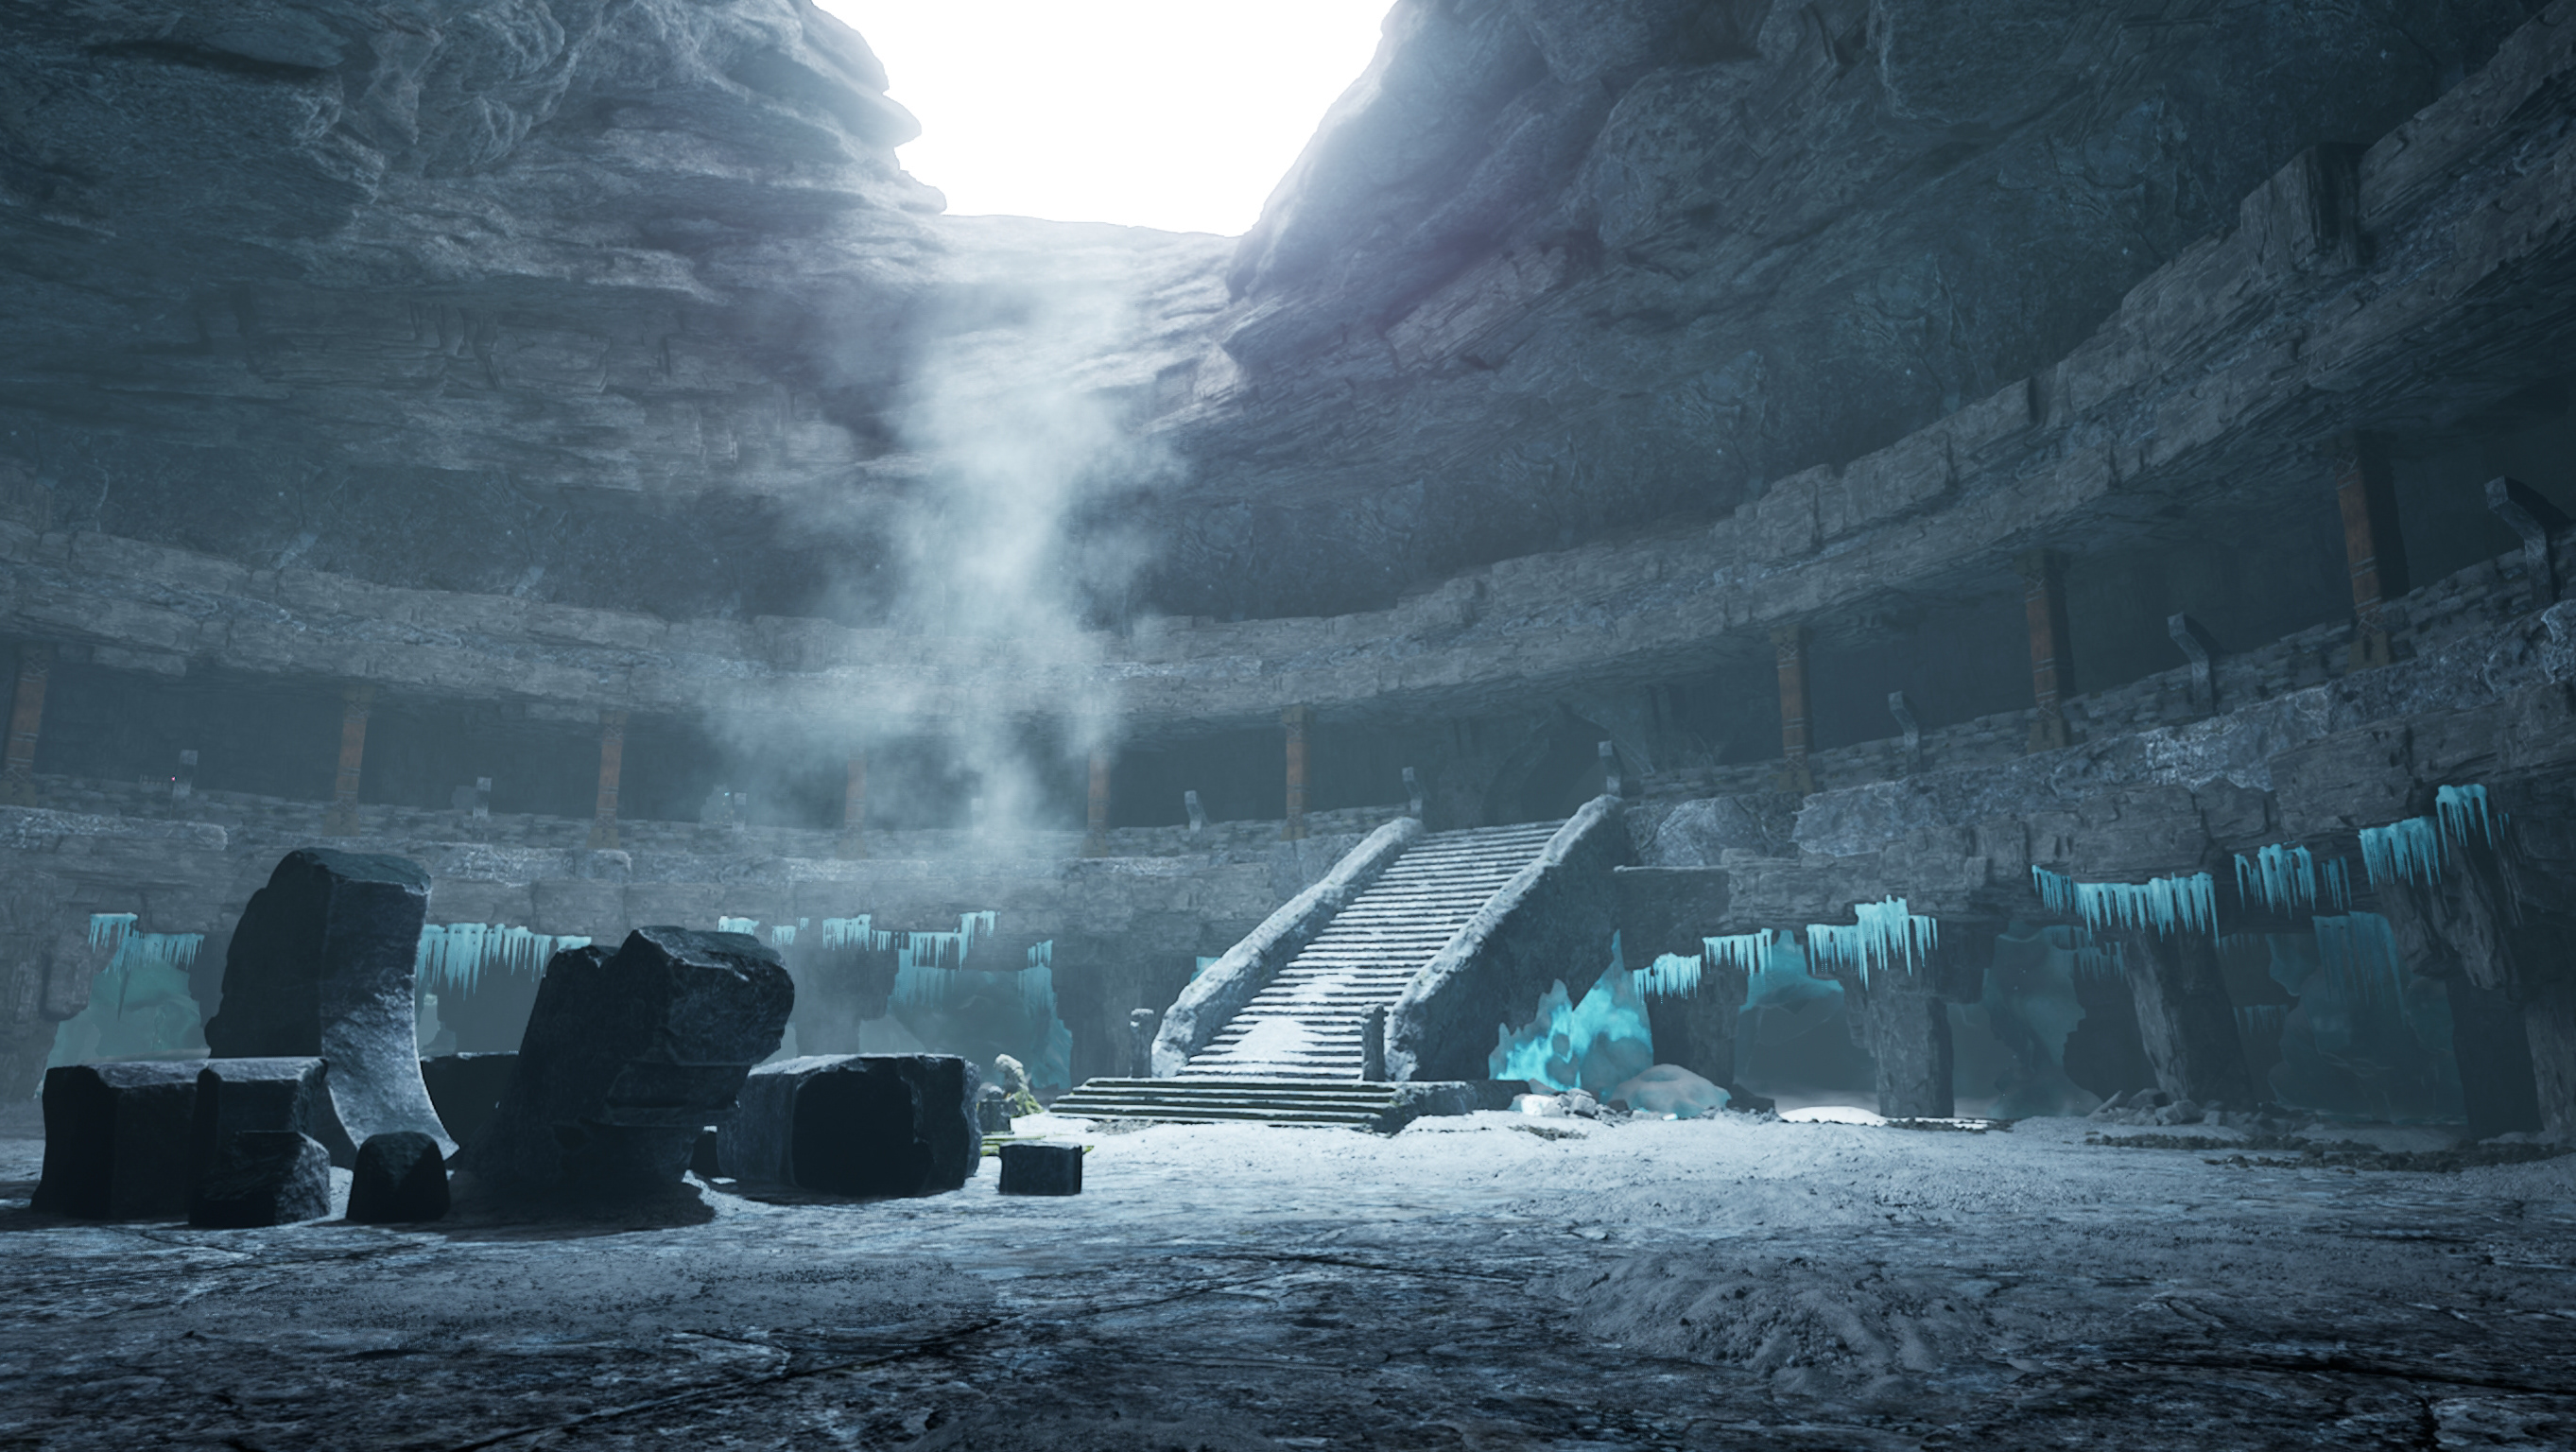
Started meshing the walls soon after the scale was dialled down. At this point, the look or silhouettes of the rock formations weren't final so the focus was more on getting the lighting correct, figuring out correct line of sight, view distances etc.
Master material instances were intergrated into the workflow for easily getting all the assets to match their look and feel.
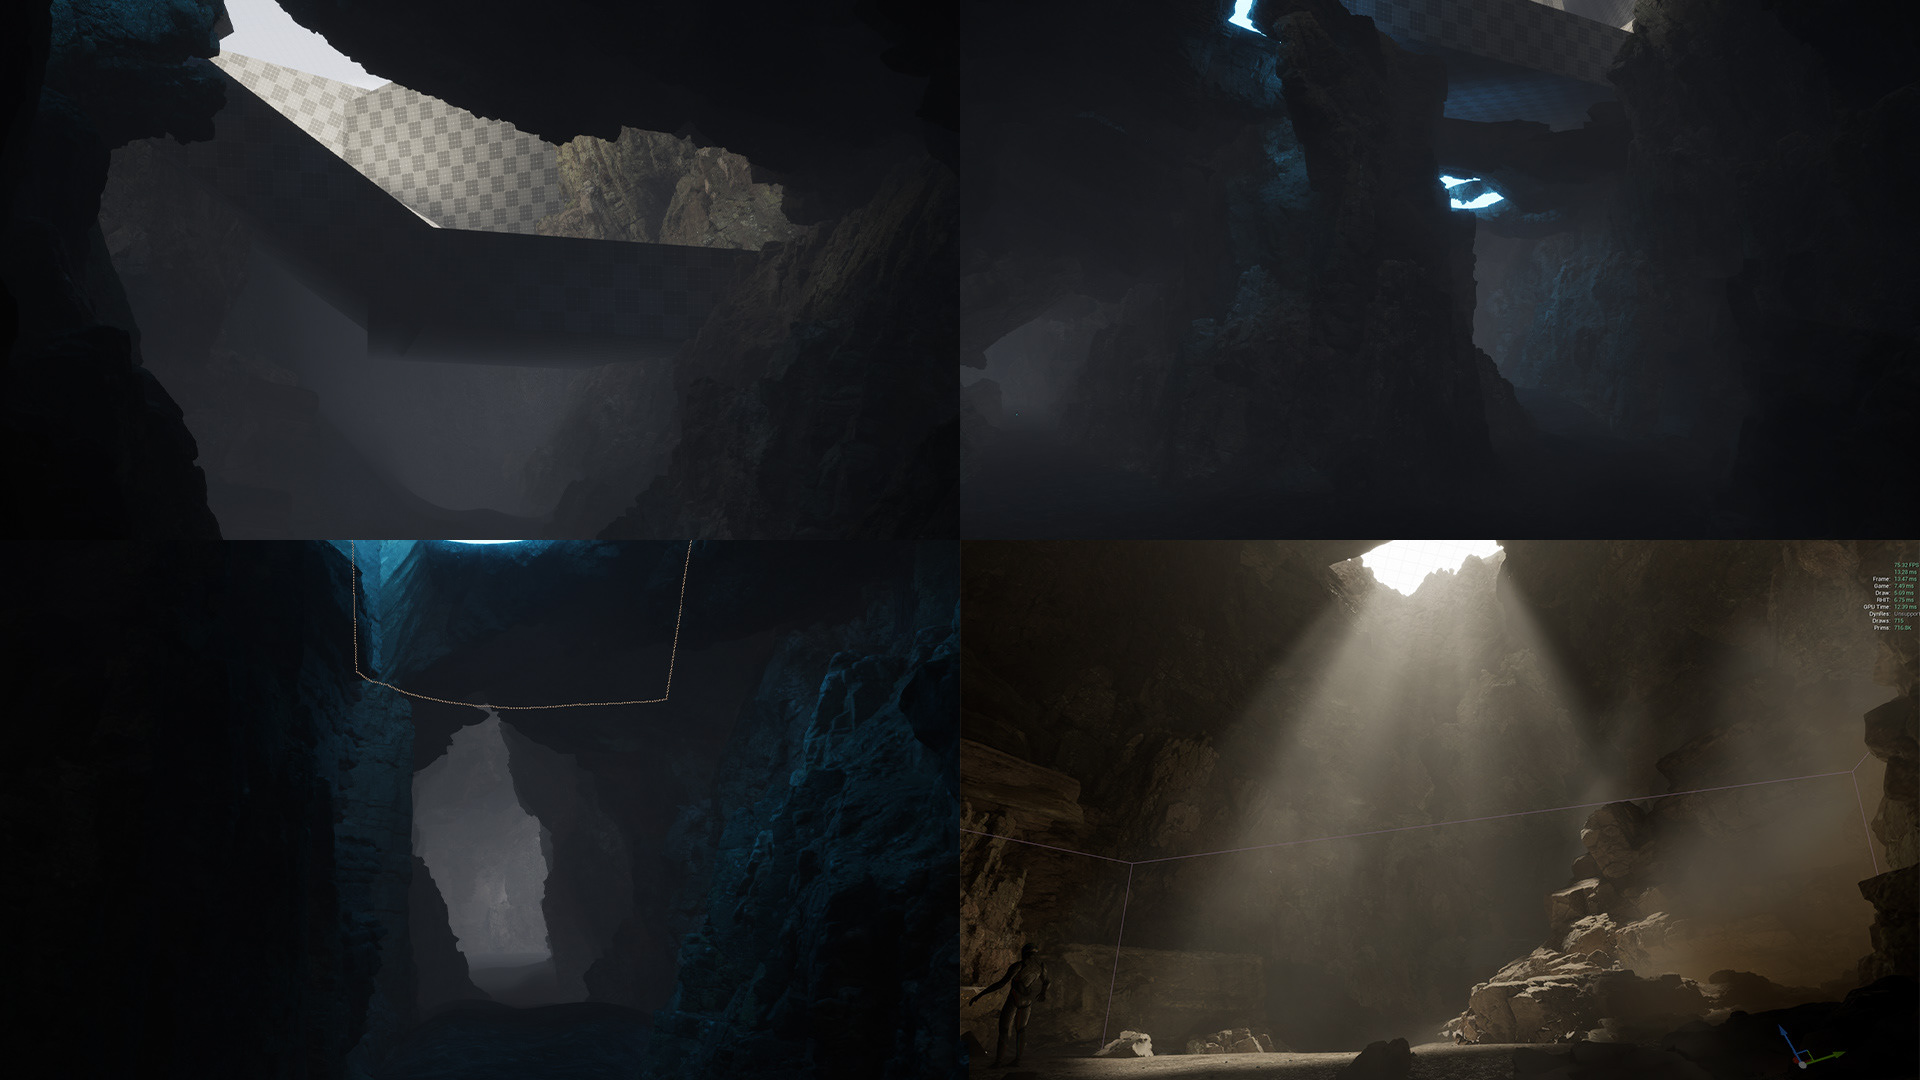
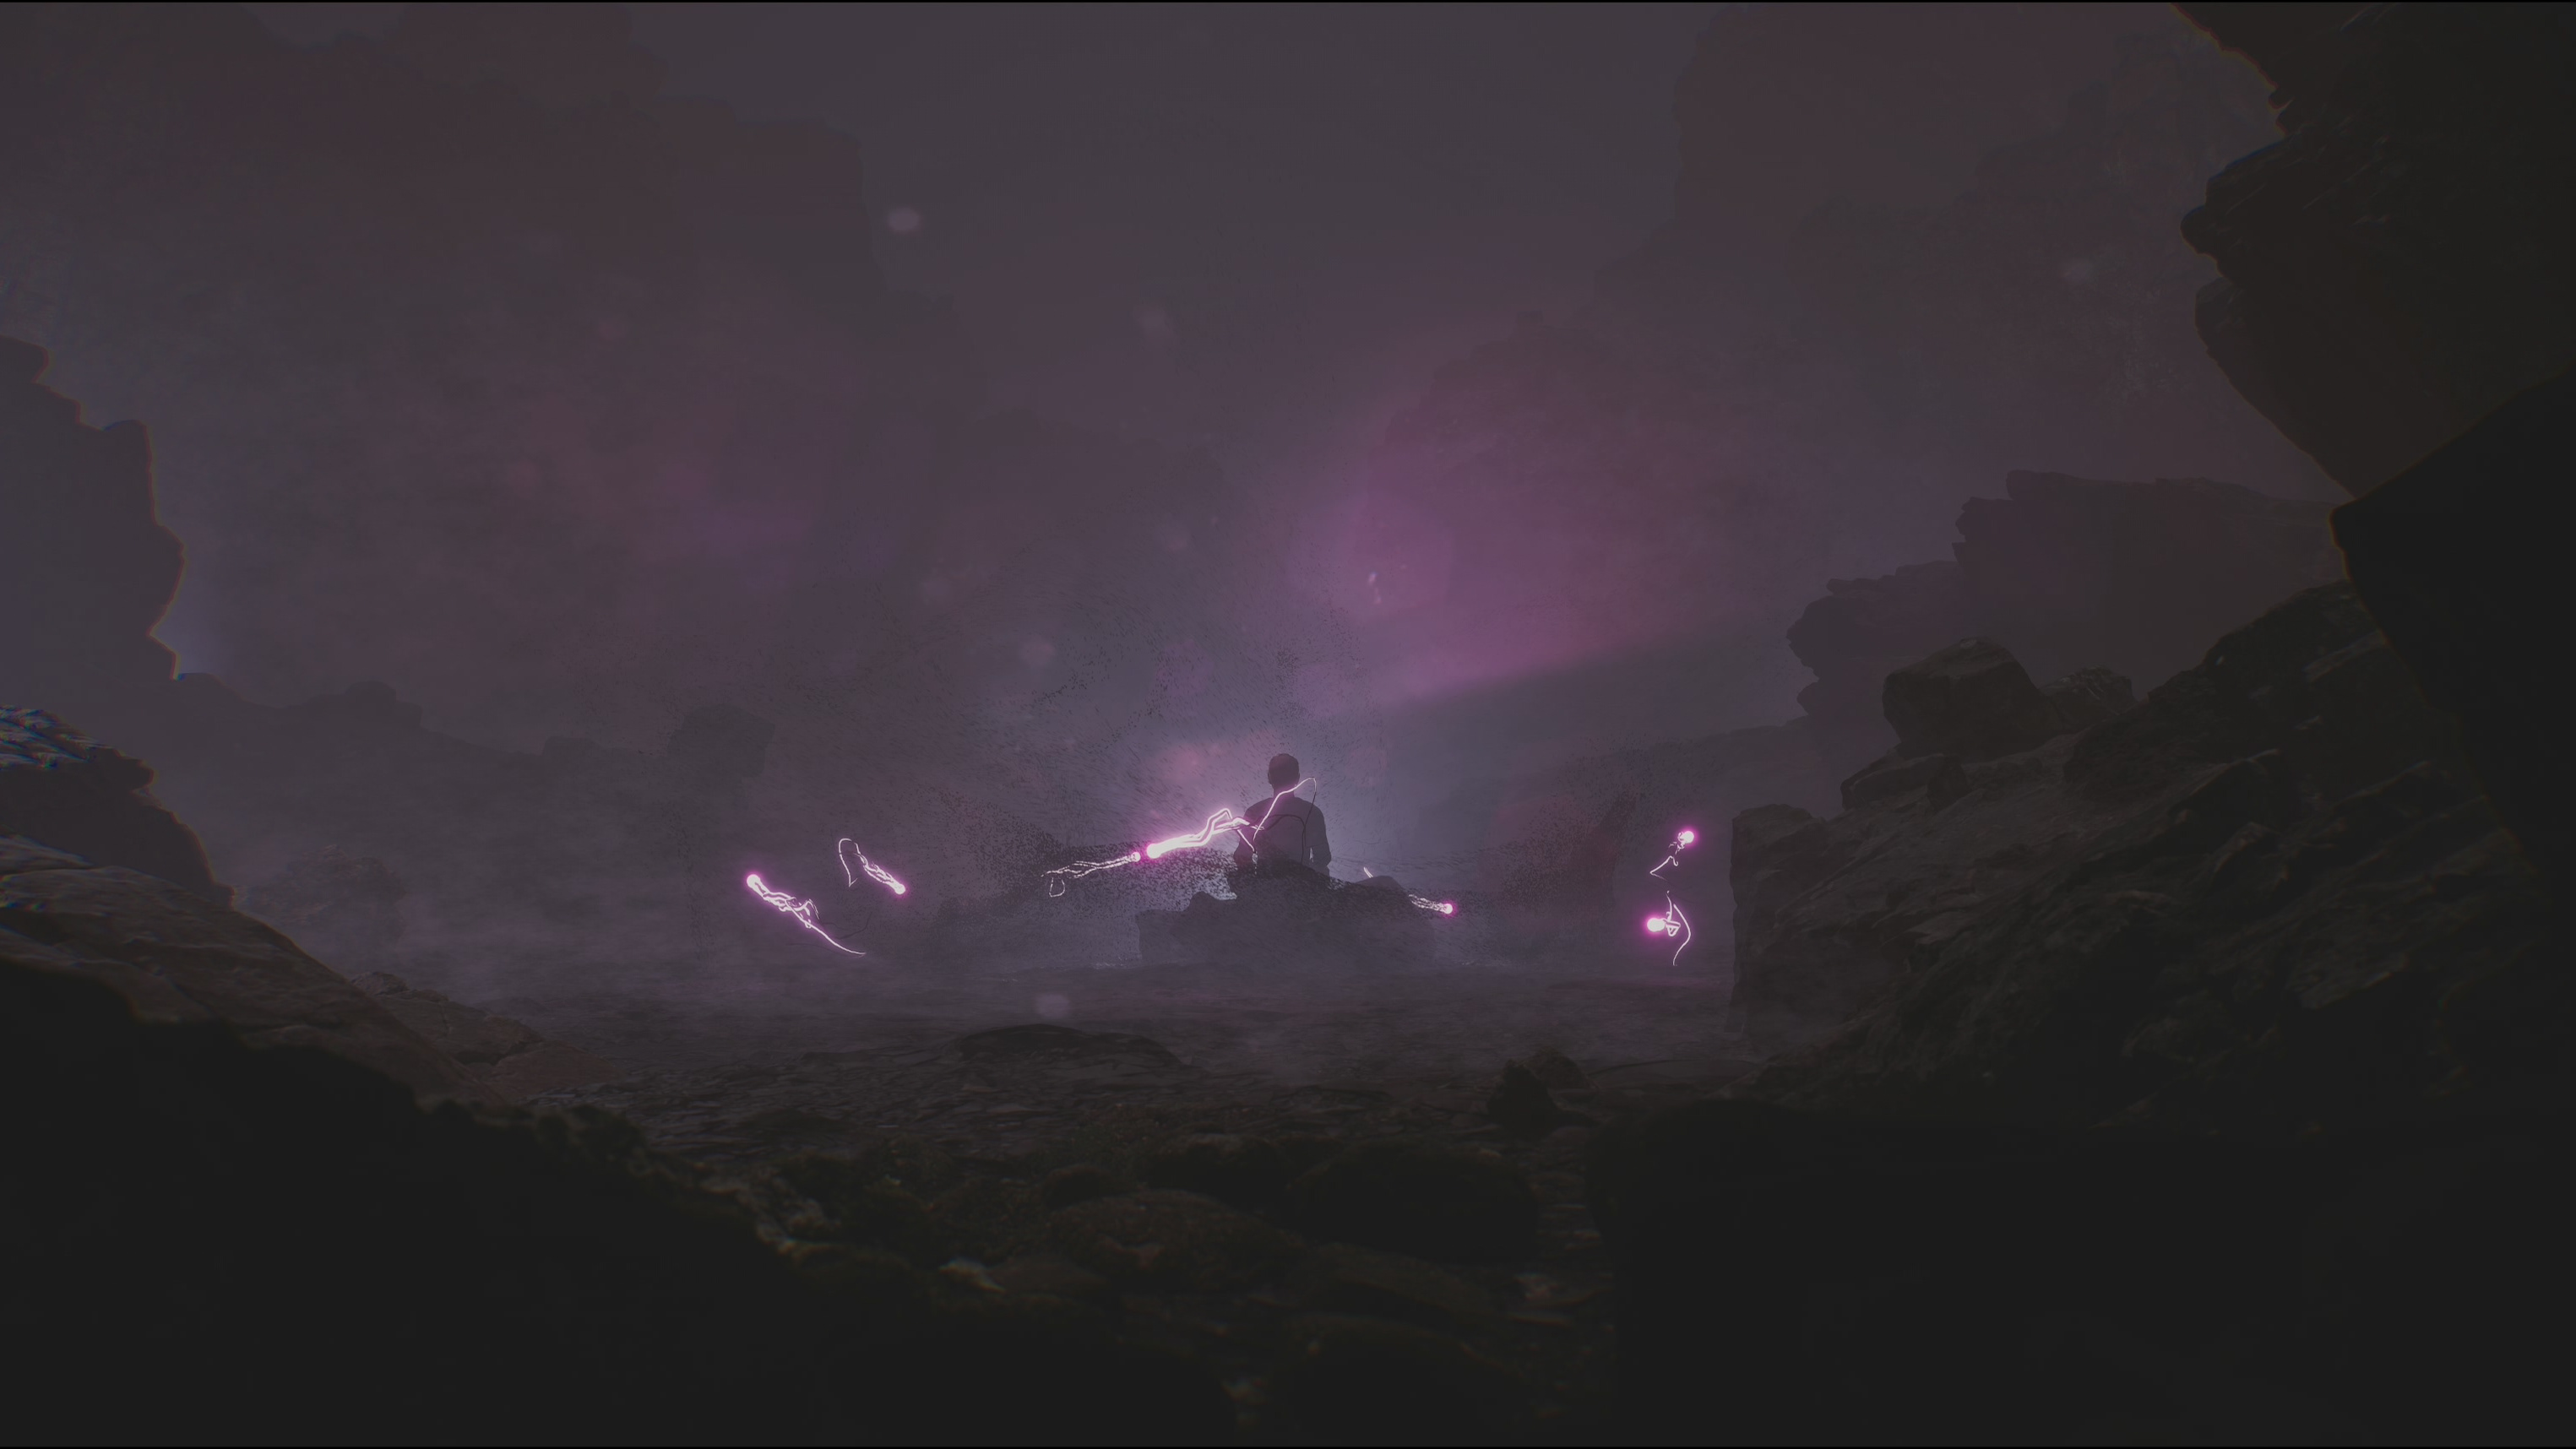
There were varied lighting situations in different spots of the cave as per the original concept.
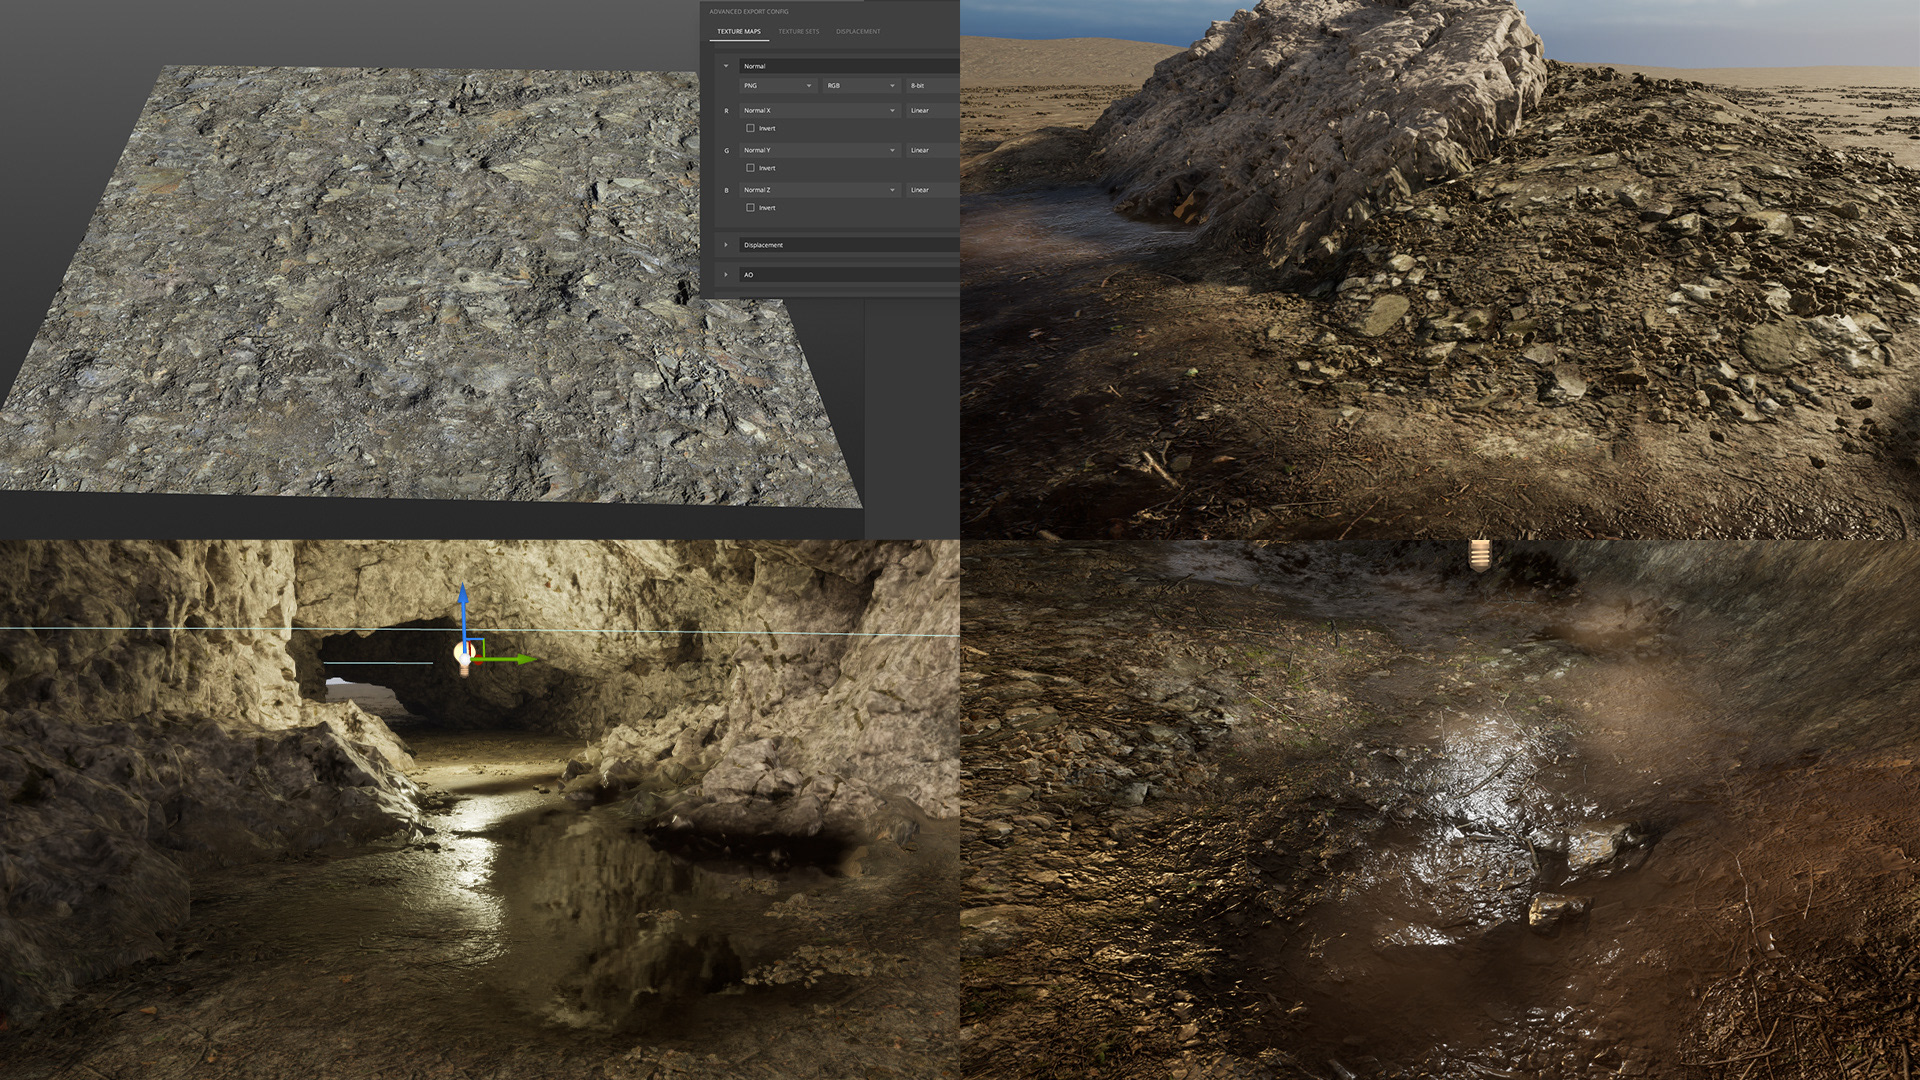
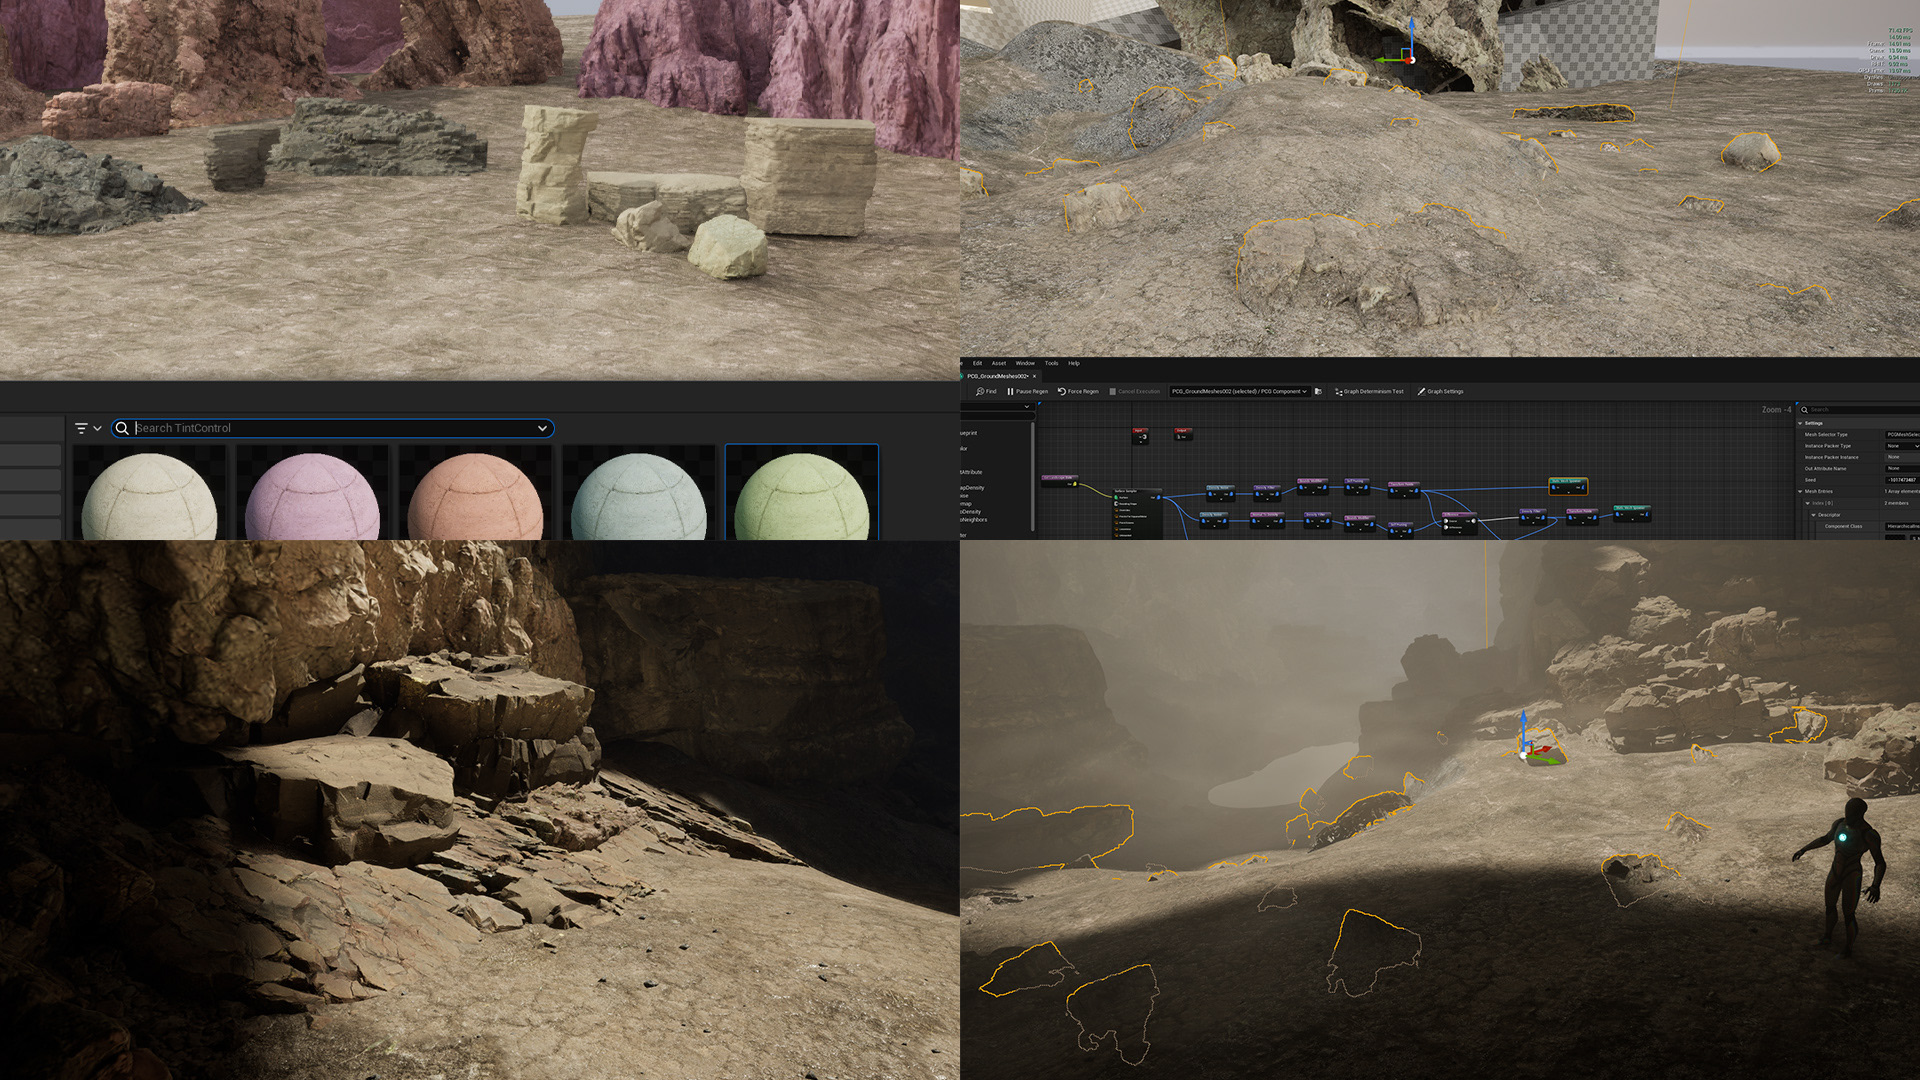
In a separate level, I developed the landscape material from existing assets to create something I could use for the cave floor.
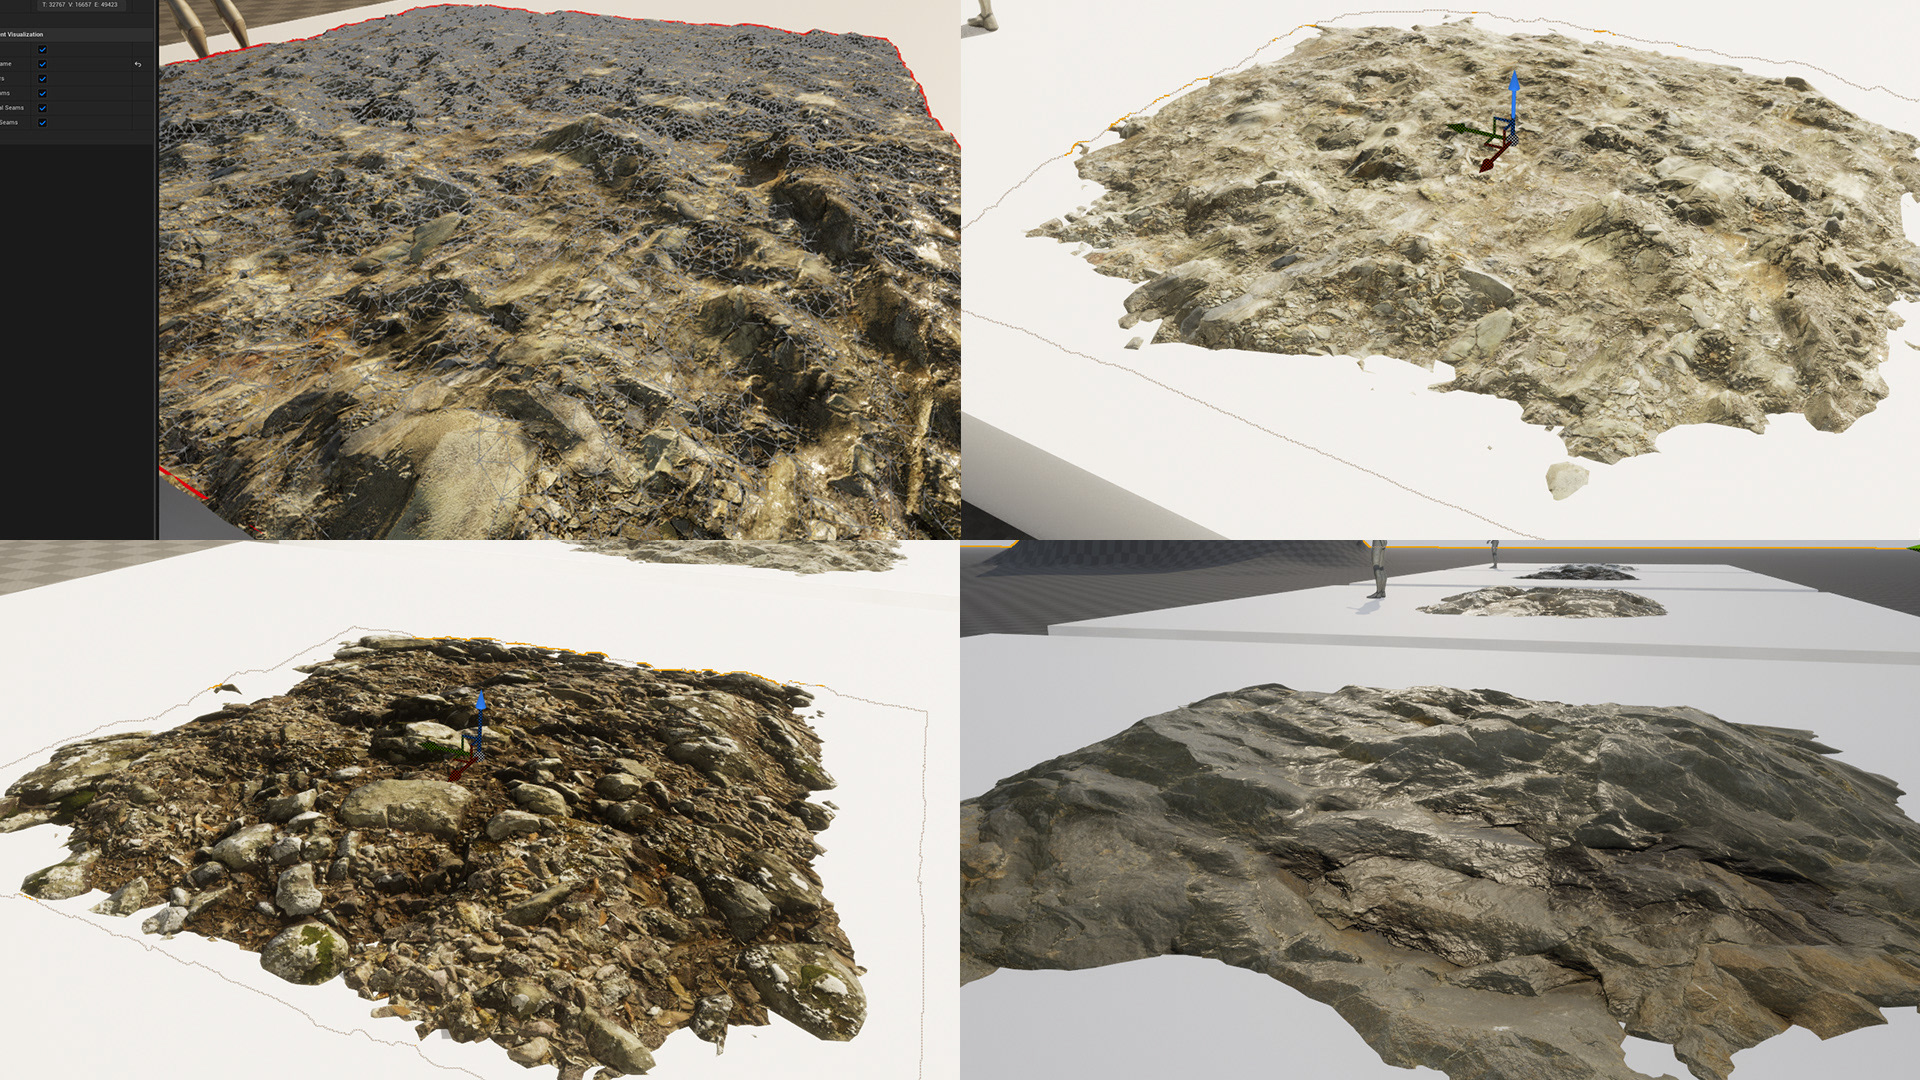
I also made custom ground meshes which could be used in conjunction with the landscape. These meshes have higher polygon counts so stategically placing these meshes elevated the overall fidelity of the environment.
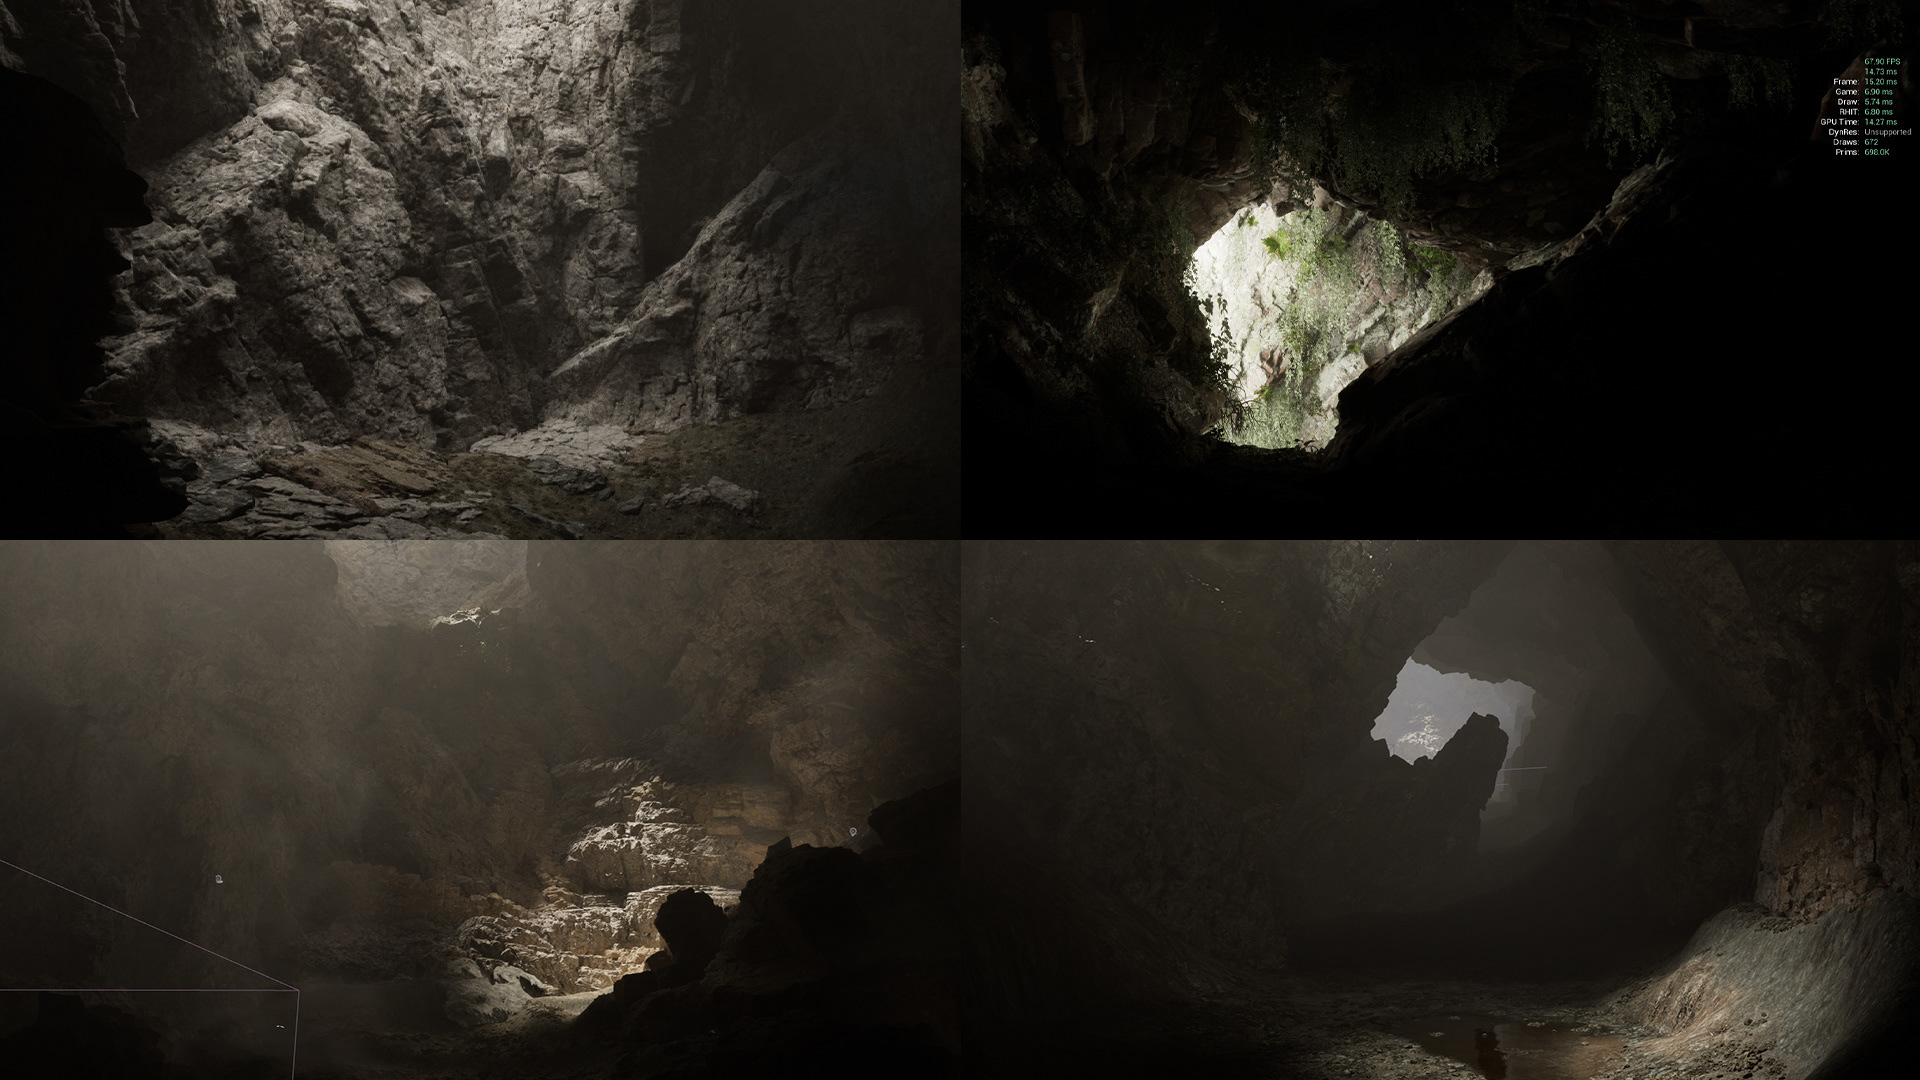
More detailed meshing work to create certain shapes and testing foliage in brighter areas of the cave.
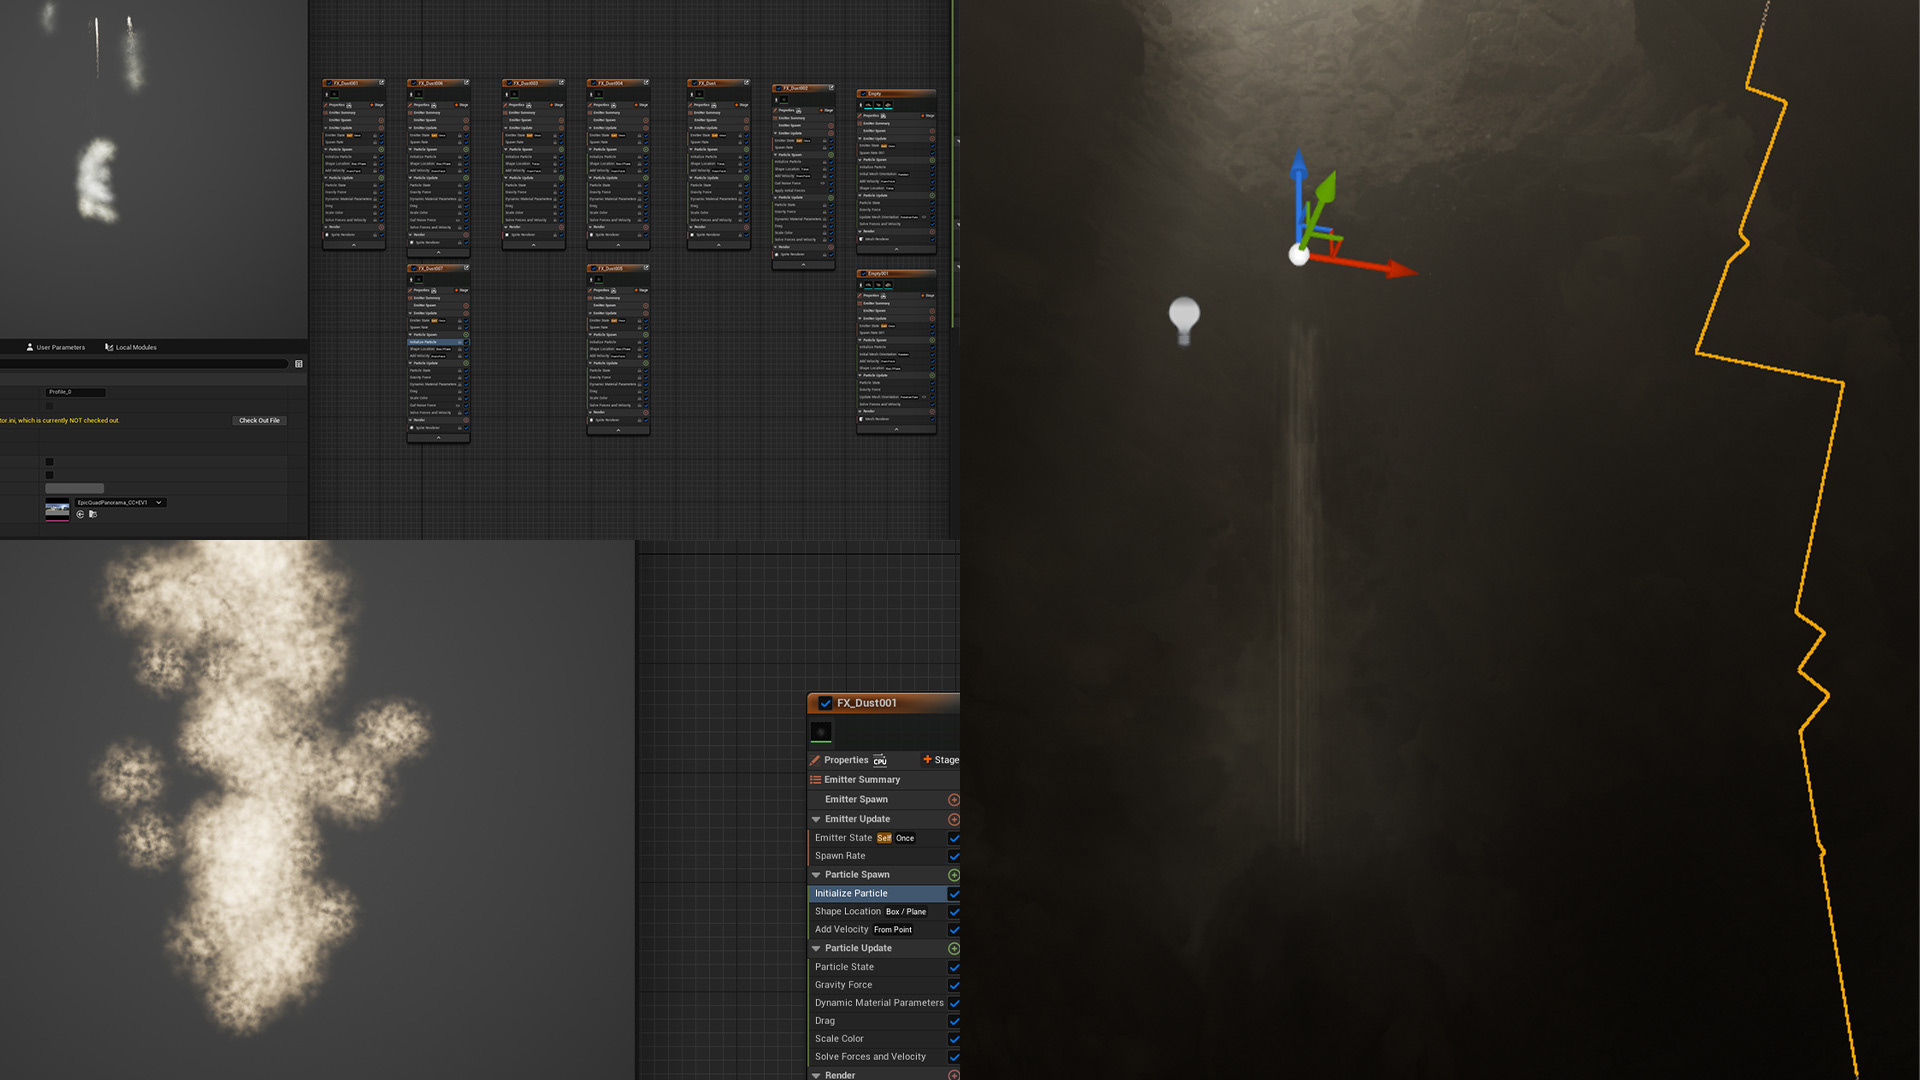
Niagara tool used to create falling rock and dust particle effect.
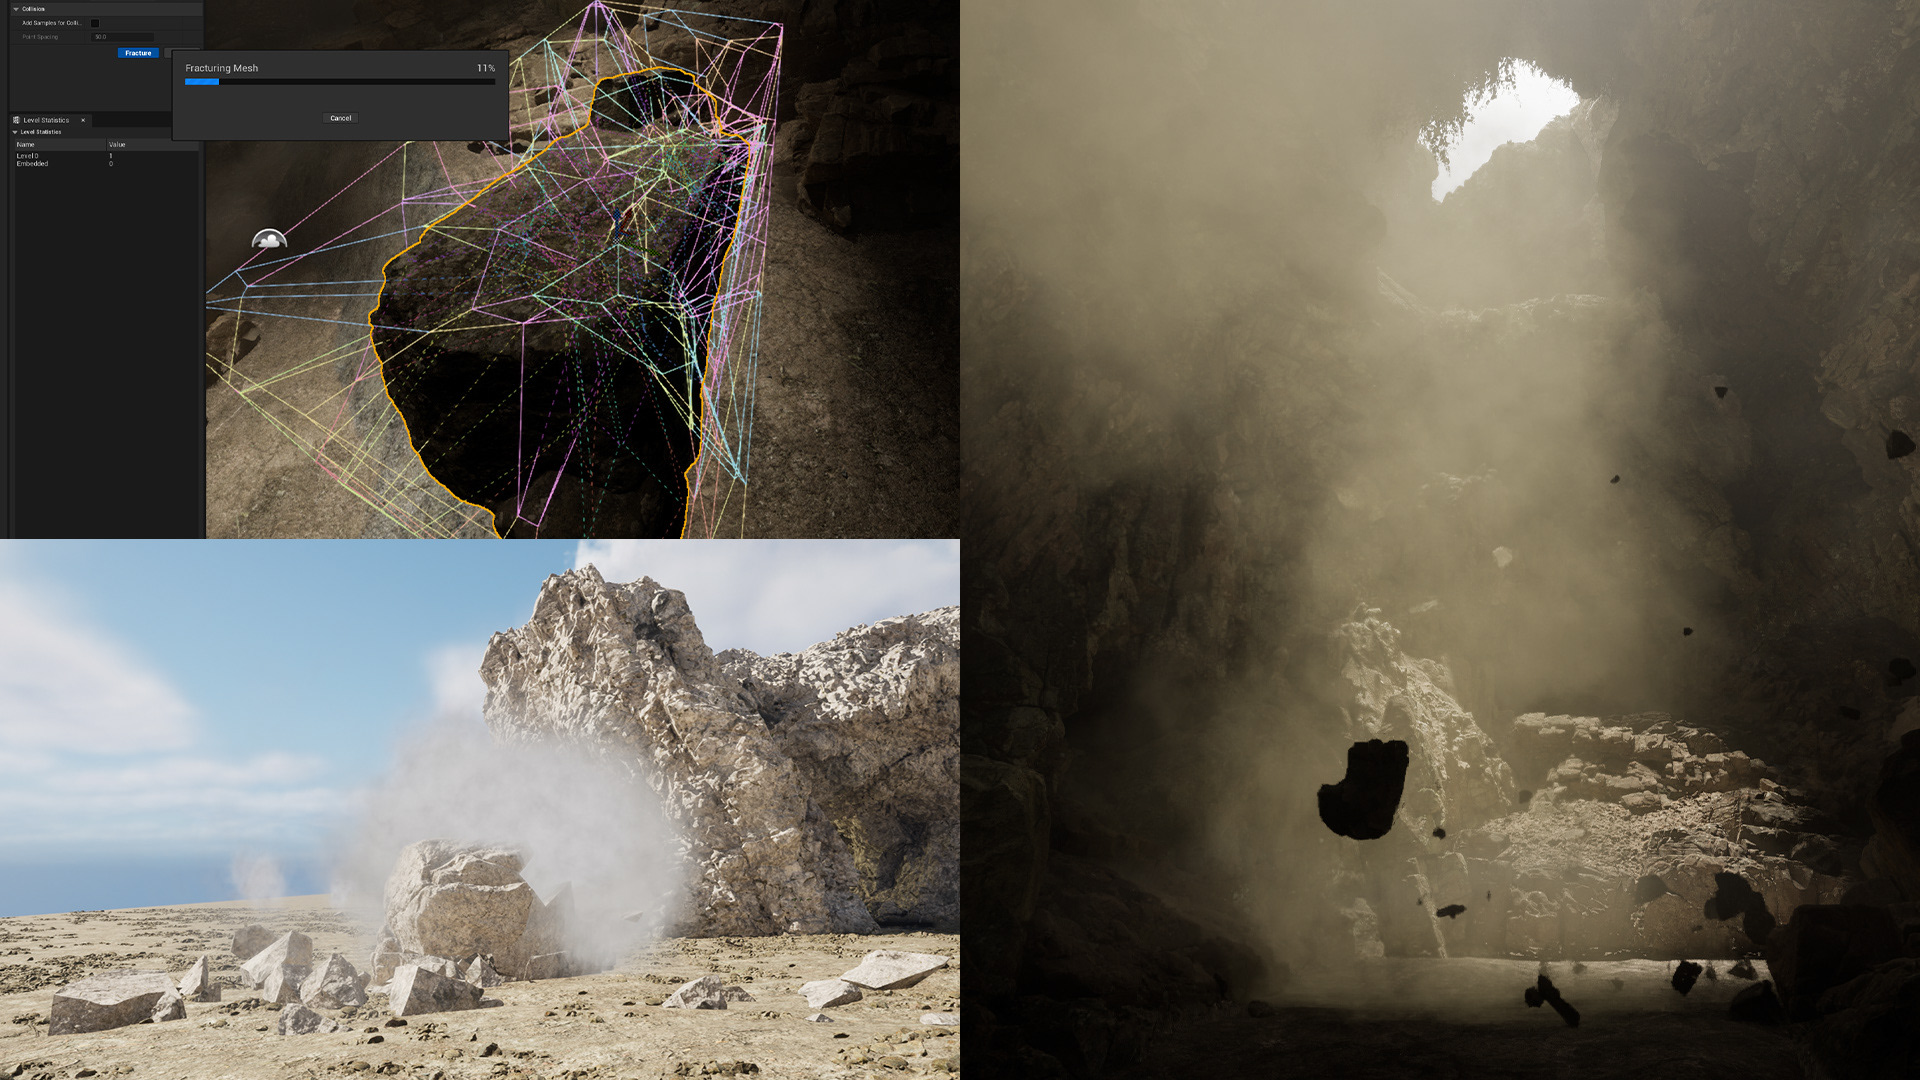
Chaos tool was used in conjunction with Niagara to create an effect where bigger rocks were tumbling down with smaller rocks, dust and smoke.
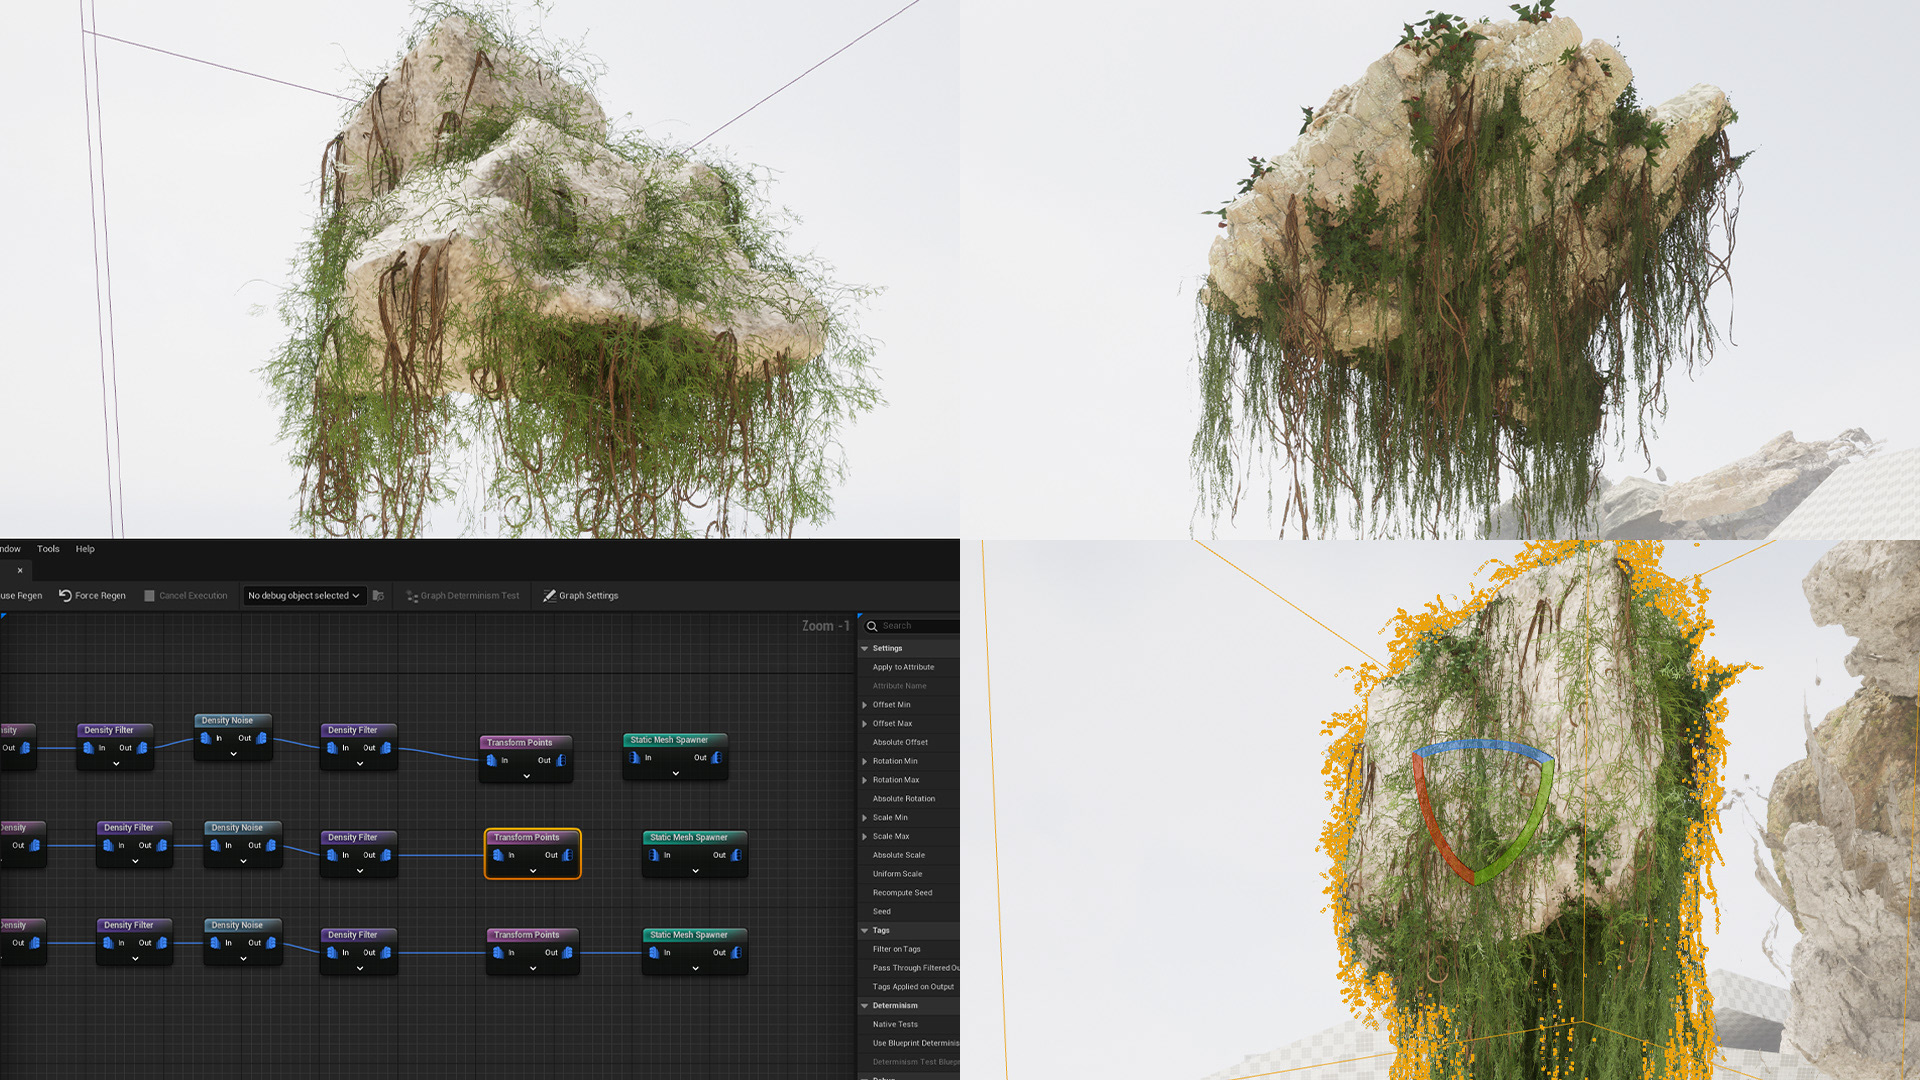
I used the PCG graph to automatically spawn foliage on rock meshes.
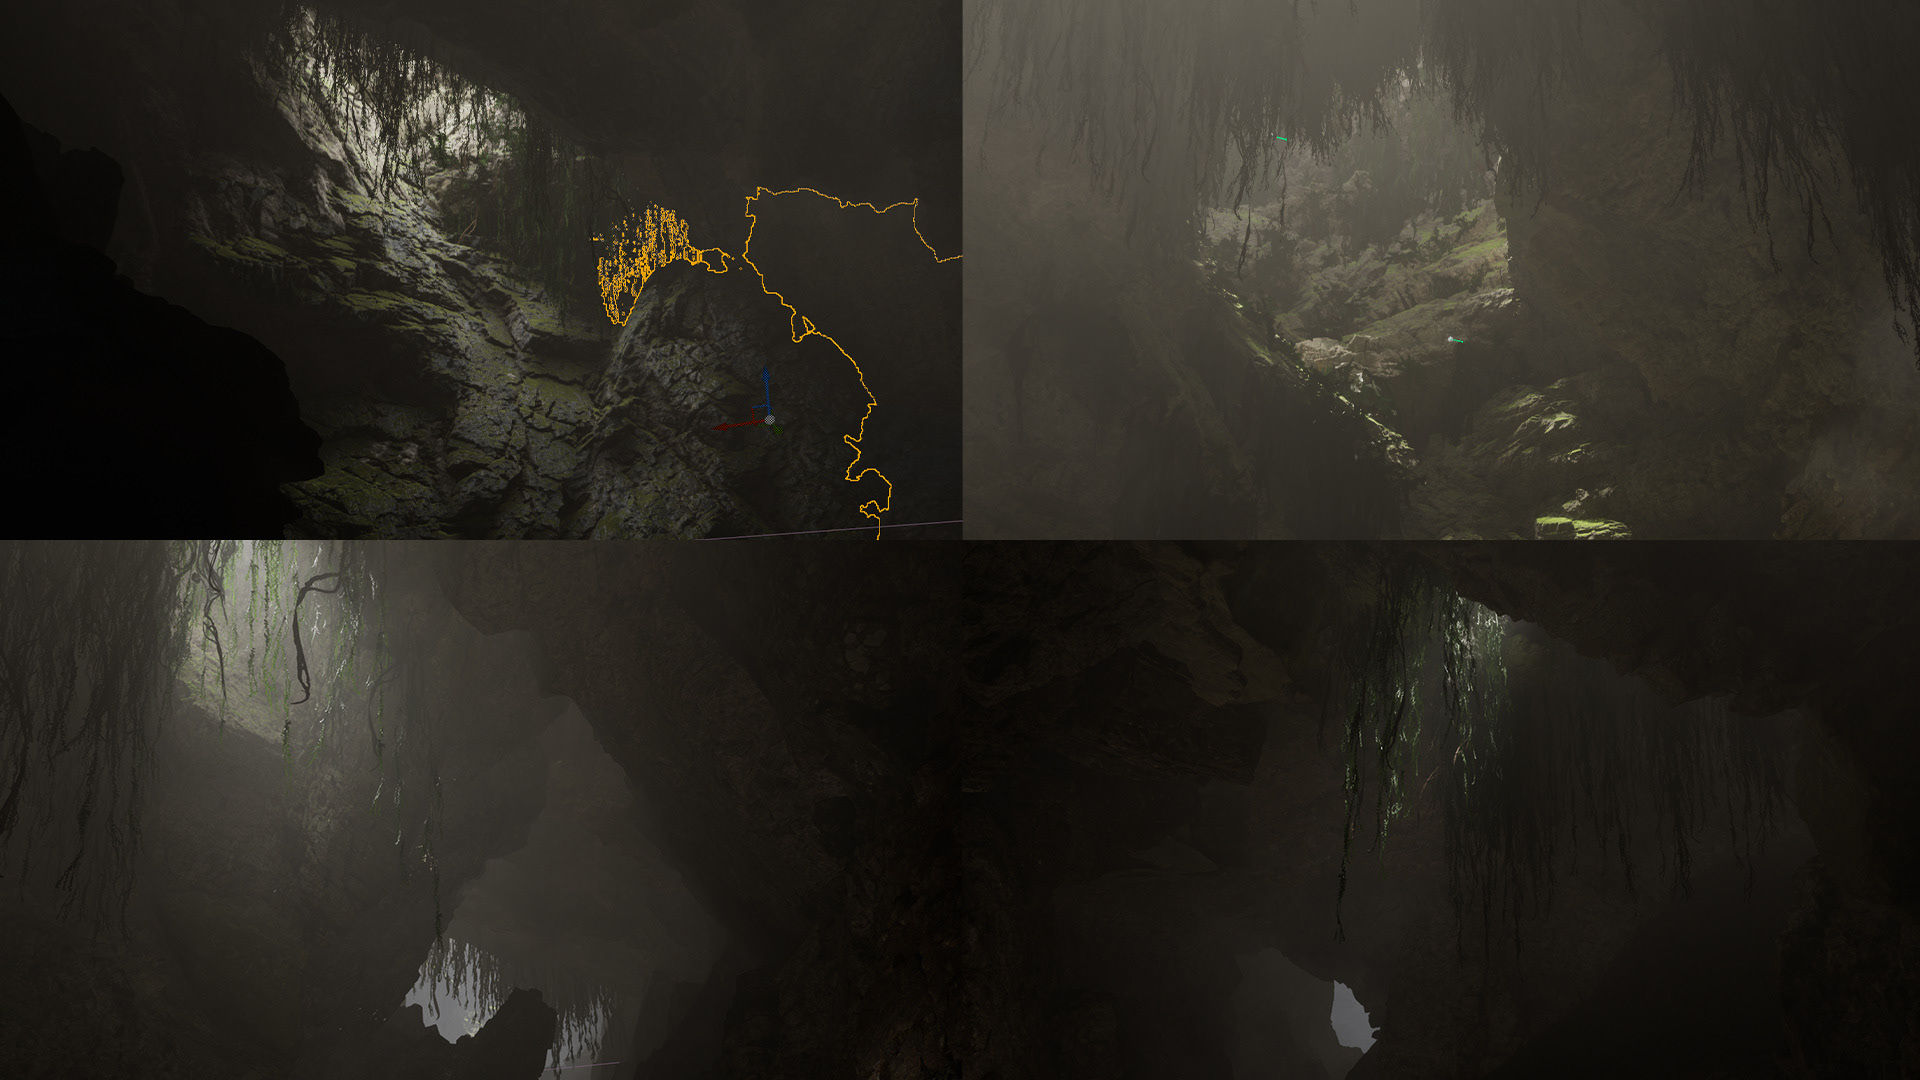
The procedural rock and foliage were placed in various openings of the cave. With consideration of lighting, look and feel.
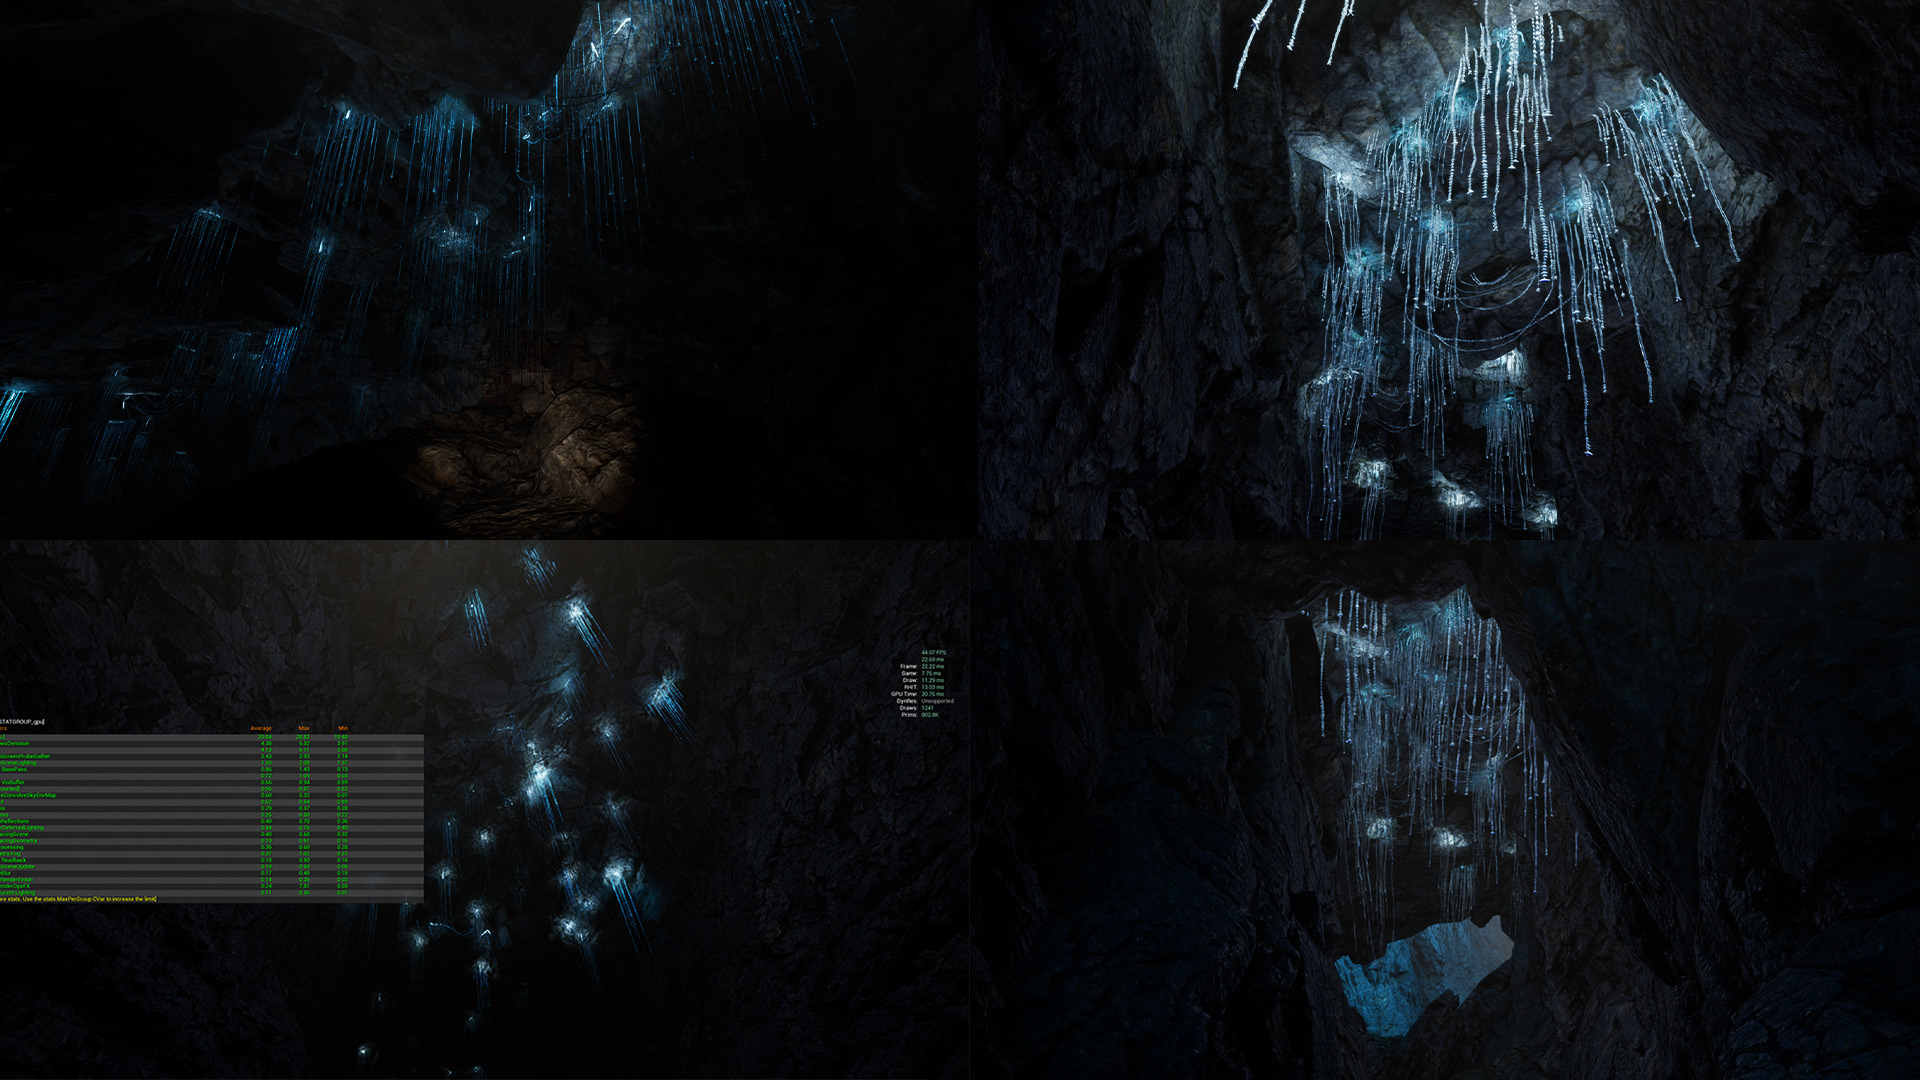
Glowworm assets were added to another part of the cave ceiling.